1. Introduction
Kwizto is a standalone quiz management platform built by Aliston. As a standalone administrator, you run Kwizto entirely on its own — you register your own account, manage your own list of participants, send your own emails, and (optionally) connect it to a Cirrus Shield organization if you choose to.
This guide covers everything a standalone administrator needs: registration, licensing, managing participants and quizzes, sending emails, and configuring parameters. For the participant's experience taking a quiz, see the companion Kwizto User Guide.
2. Getting Started
2.1 Registering an Account
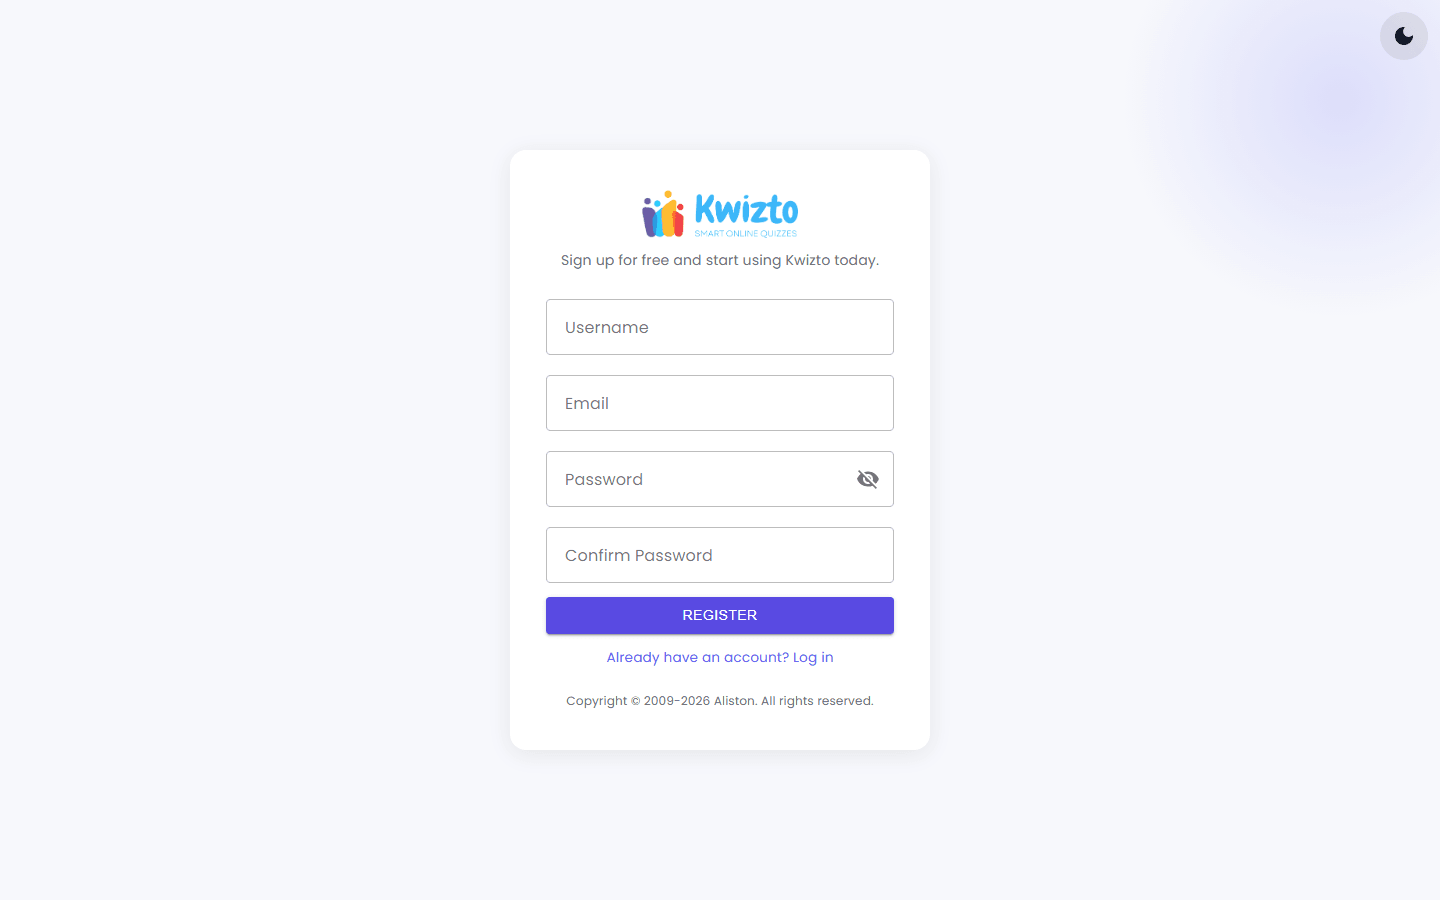
- Go to the Kwizto Register page (the No account? Register here link on the login page,
kwizto.com/app/login). - Choose a username, enter your email address, and choose a password (with confirmation). Username, email and password are required, and the email address must not already be used by another Kwizto account.
- Submit the form — you are automatically signed in.
A verification email is sent to confirm your account, and you can start building quizzes right away. Your current license is shown in Parameters > Account (Section 3.1).
2.2 Signing In
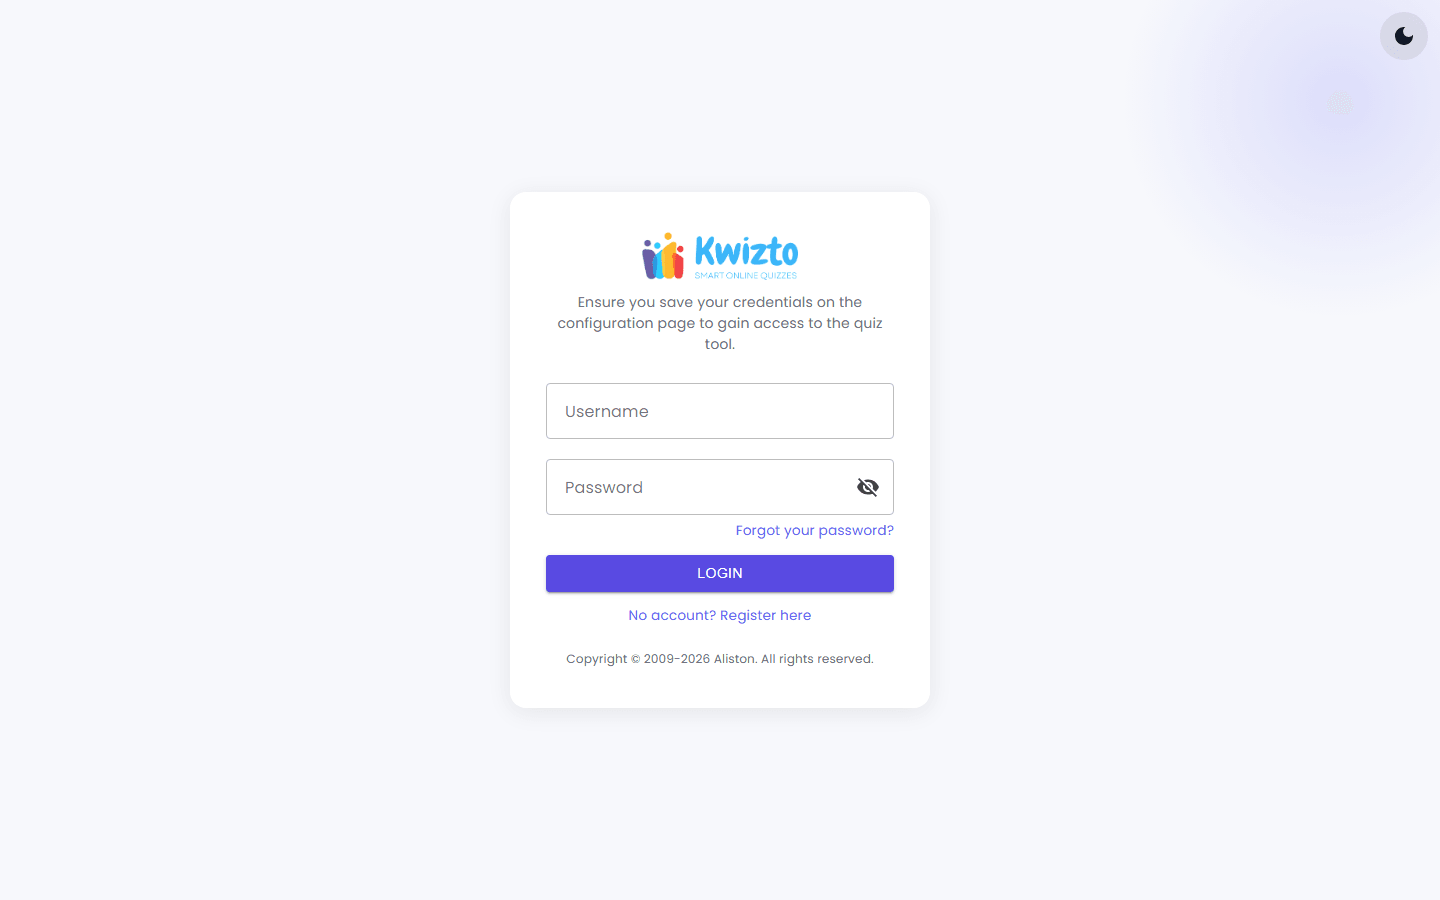
Enter your username and password on the login page (kwizto.com/app/login) and click Login. You land on your Home dashboard (kwizto.com/app).
If you forget your password, use the Forgot your password? link on the login page to receive a reset email.
Your session stays active for 12 hours, after which you'll need to sign in again.
If sign-in is blocked by a license message
If you can't sign in and see a license-related message, your license could not be validated. In some cases the login page also shows a License Key field: enter a valid license key there to reactivate your account directly, without needing to log in first. If no License Key field is shown, contact support or your account owner.
2.3 What You'll See After Signing In
As a standalone administrator, your navigation includes:
- Home — your dashboard.
- Quizzes — all your quizzes.
- Email Templates — your organization's reusable email template library (Section 6).
- Participants — your address book of people you can invite to quizzes.
- Sessions — groups ("training sessions") you organize participants into.
- Parameters — email sending, Cirrus Shield connection, license, and account settings.
2.4 The Home Dashboard
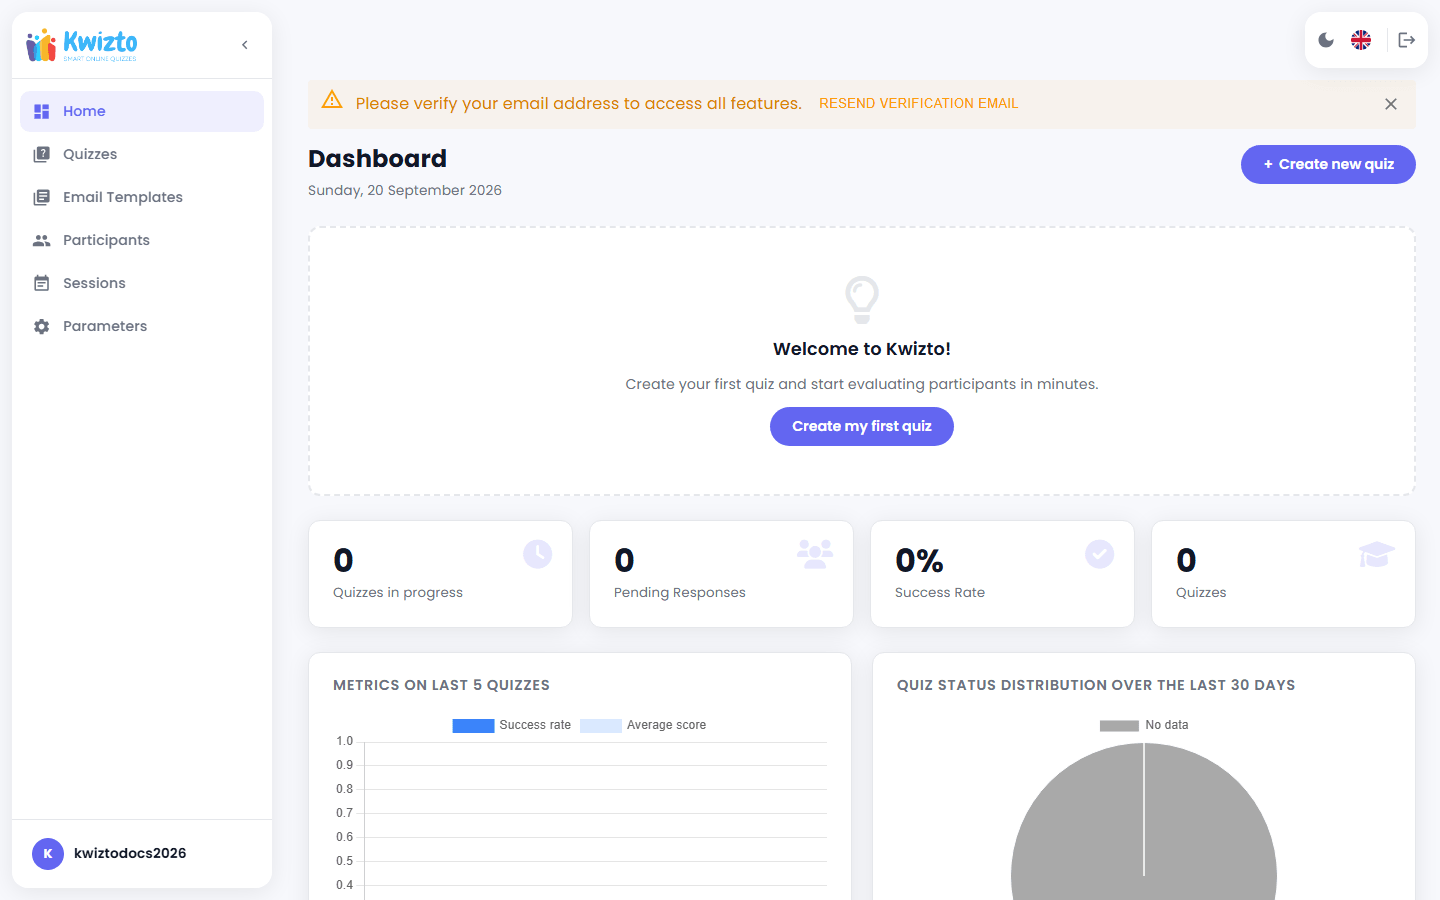
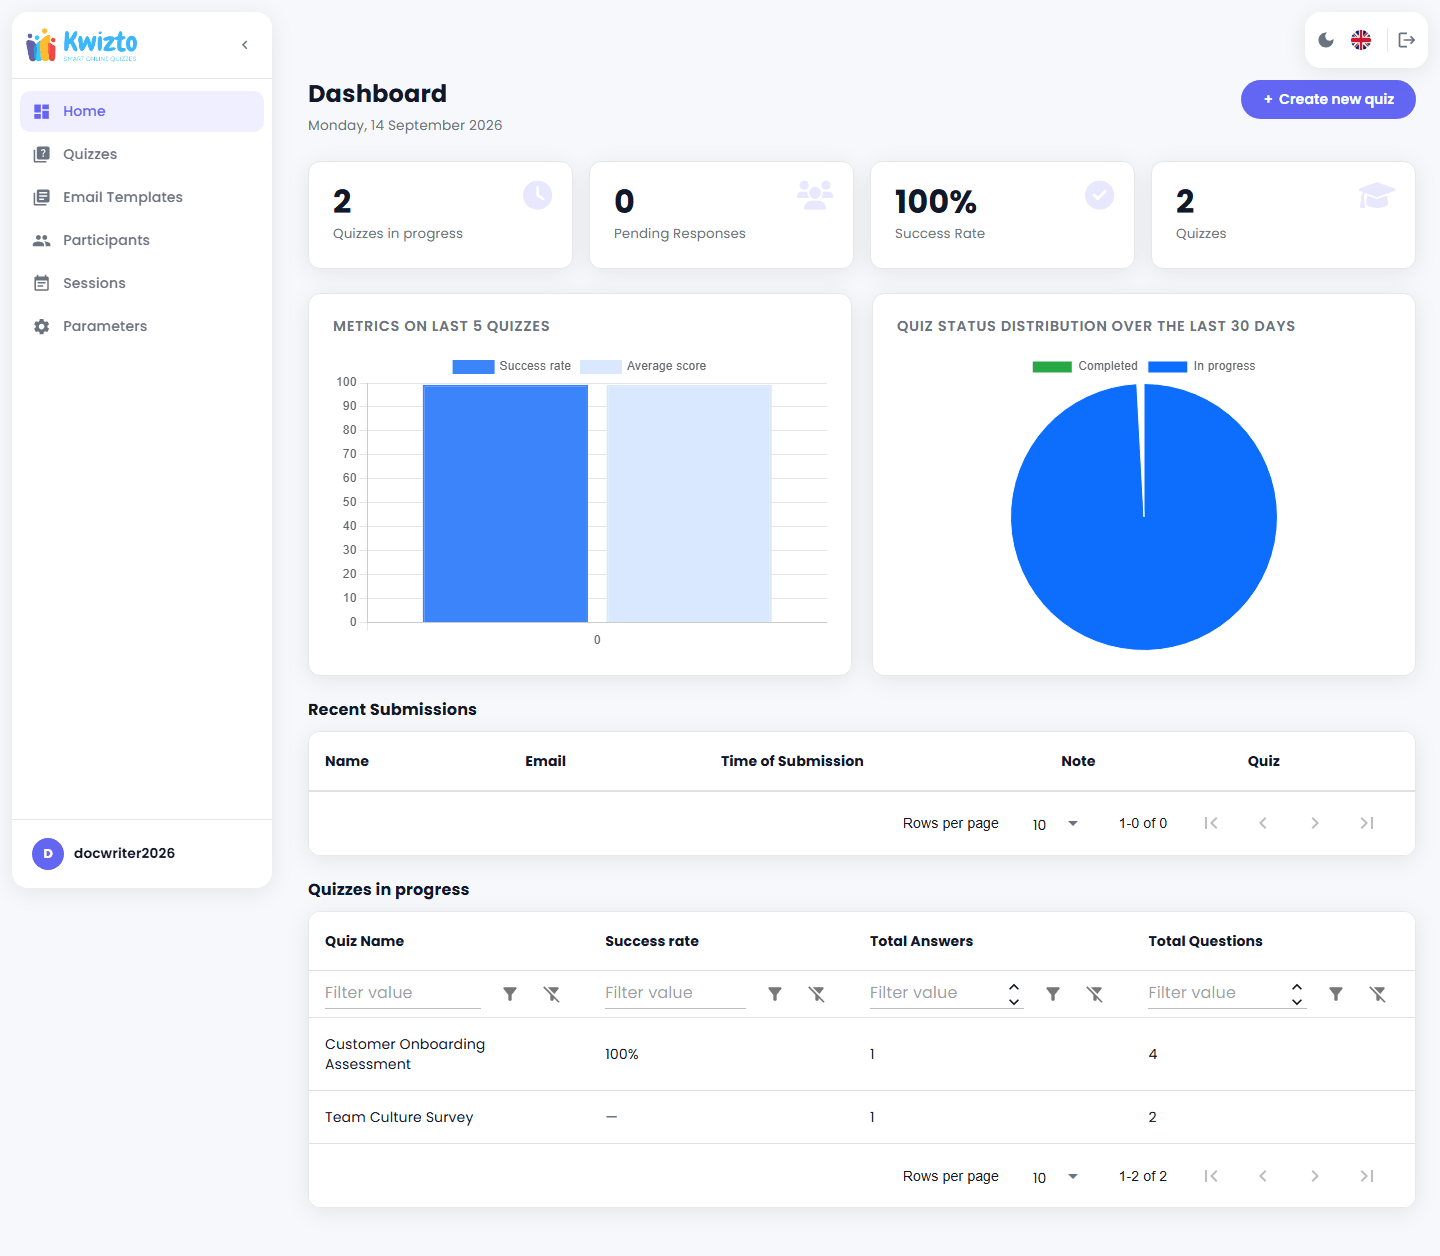
The Home page (kwizto.com/app) shows four KPI tiles (quizzes in progress, pending responses, global success rate, total quizzes), a bar chart of your last five quizzes' success rate and average score, a status-breakdown pie chart, a Recent Submissions list, and a Quizzes in Progress list. When your account has no quizzes in progress and no submissions, you see a "Welcome to Kwizto!" banner instead, to help you get started.
3. License and Upgrading to Pro
3.1 Checking Your License
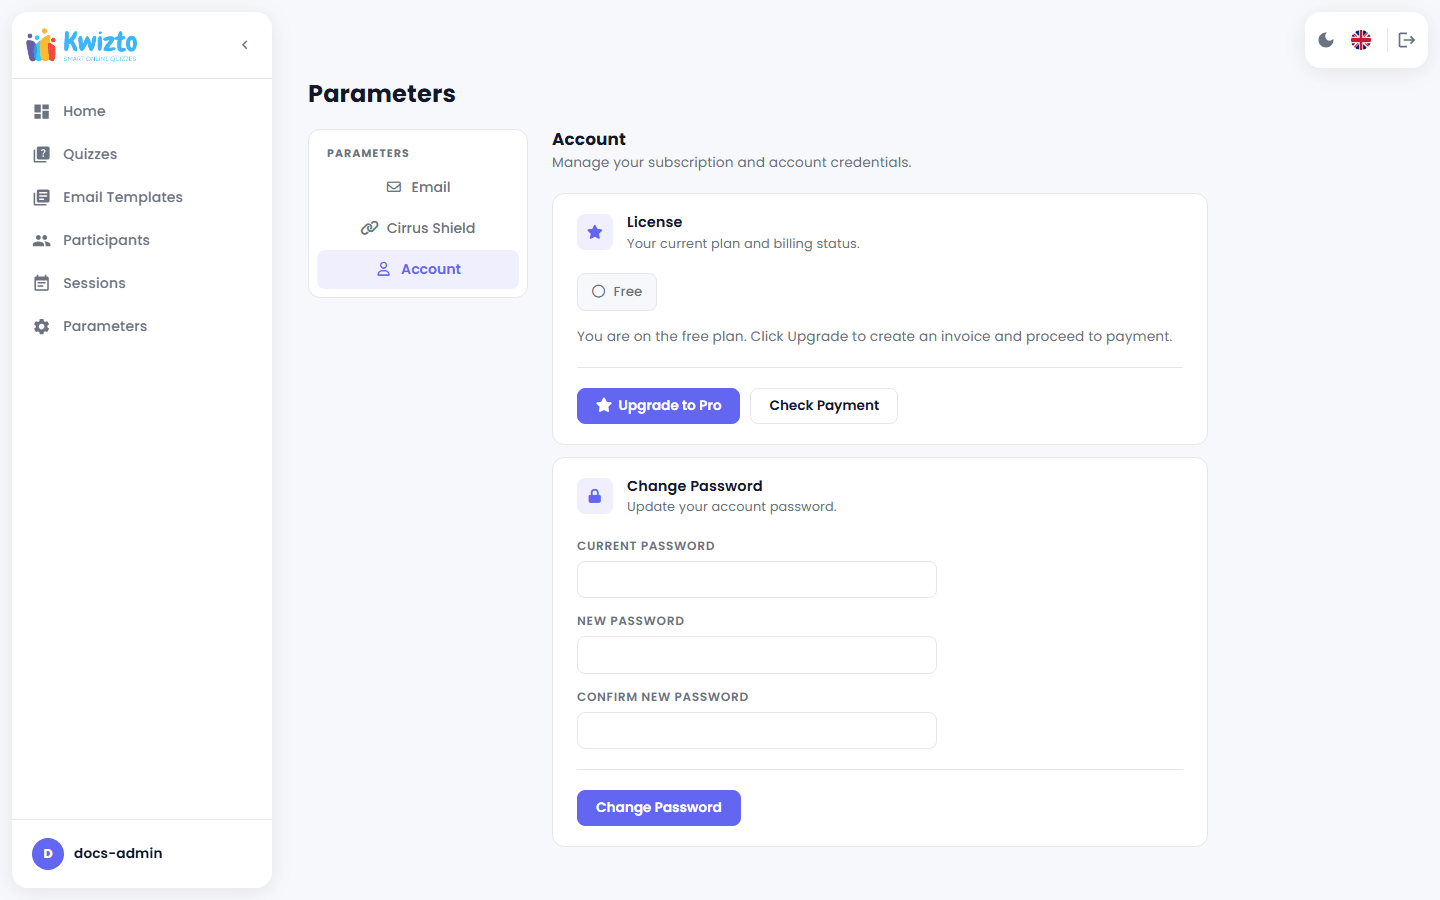
Go to Parameters > Account to see your current license: a "Pro" badge with the date it's valid until, or a "Free" badge if you're on the free plan. There's no separate active/inactive indicator or countdown of days remaining — just the plan type and, for Pro, the valid-until date.
3.2 Upgrading to Pro
From Parameters > Account, click Upgrade to Pro. This will:
- Create your billing account and an invoice, and redirect you to a secure Stripe payment page.
- Once you've completed payment, return to Kwizto and click Check Payment in Parameters > Account.
- Kwizto confirms the payment was received and activates your Pro license; its valid-until date is then shown in Parameters > Account.
If a license message blocks your sign-in, see Section 2.2: you may be able to enter a license key directly on the login page, without needing an active session. Otherwise, contact support to resolve it.
4. Managing Participants and Training Sessions
4.1 Training Sessions
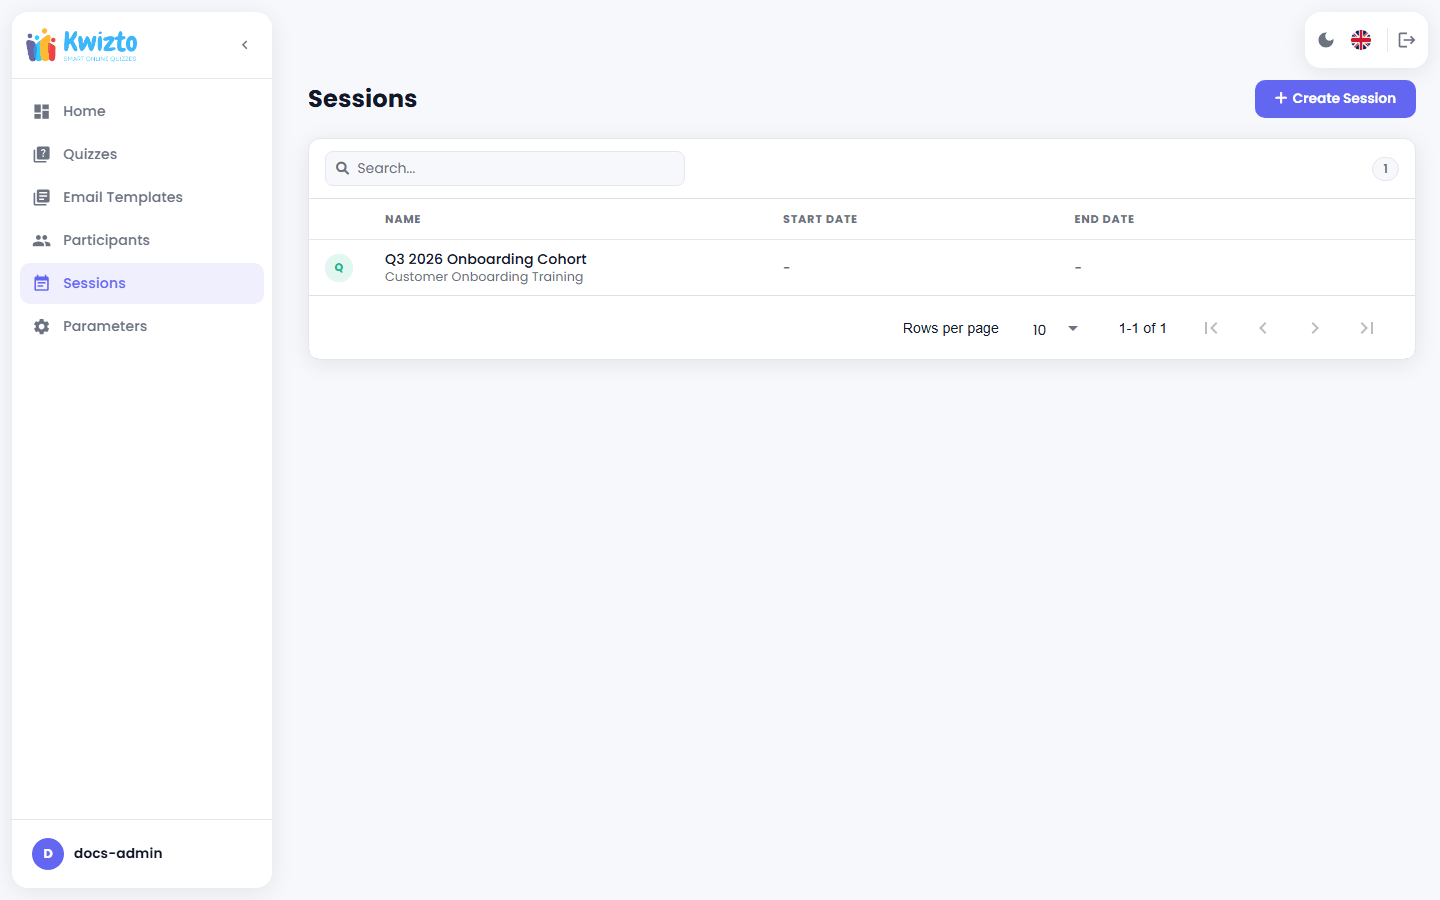
Go to Sessions to create groupings of participants (for example, by cohort, department, or training date). Use Create Session to add a new session and Edit to rename or adjust one. A session cannot be deleted while participants are still assigned to it.
4.2 Participants
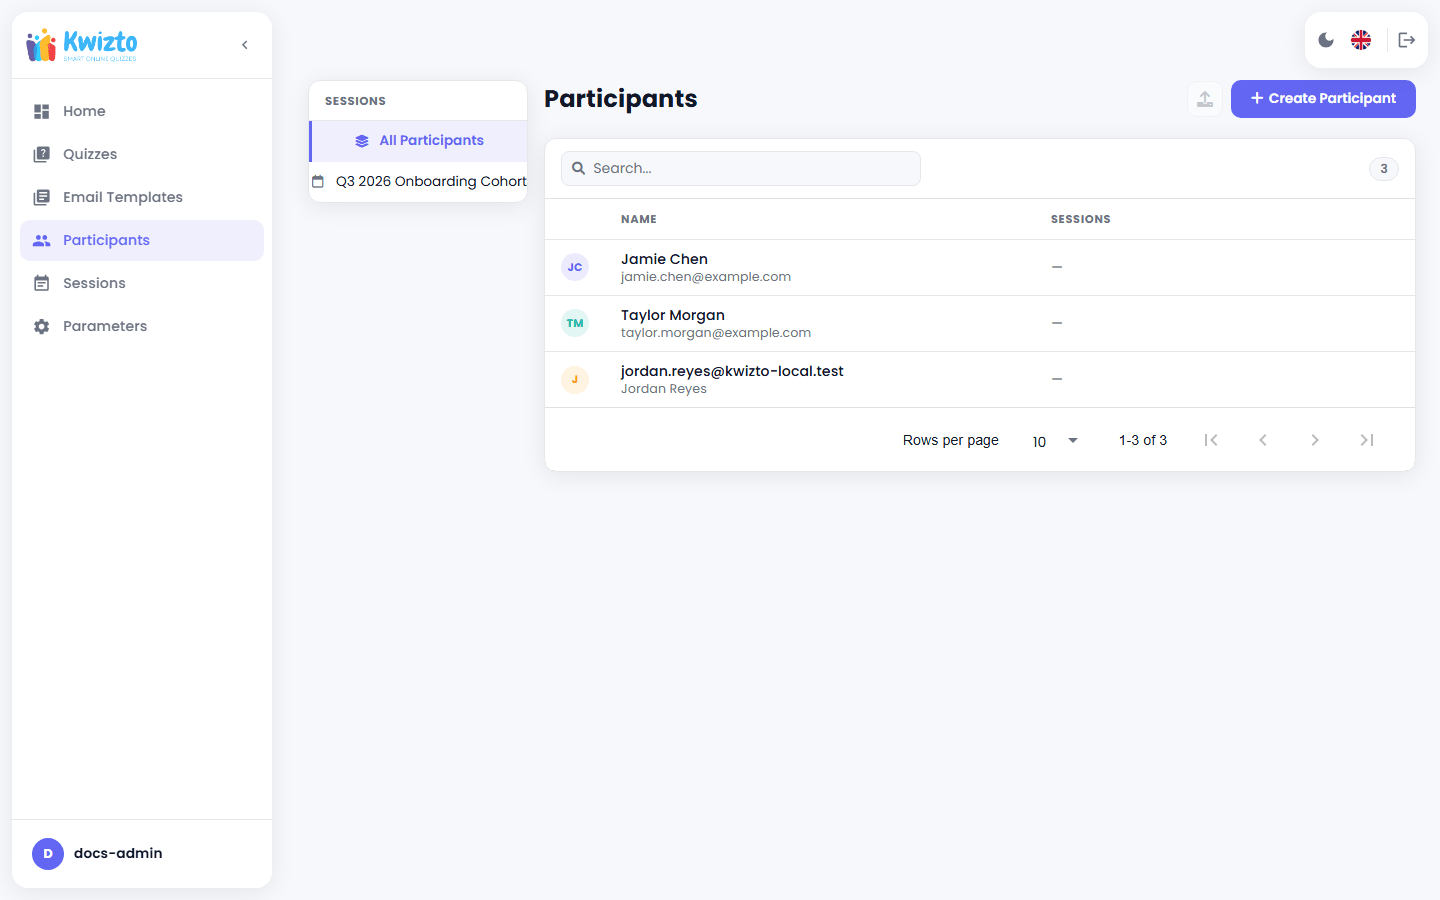
Go to Participants to manage your address book:
- Create Participant adds a single participant (name and email), optionally assigned to a Session.
- Import CSV bulk-imports a list of participants into a chosen Session.
- Edit updates a participant's details.
- Delete removes a participant — this is blocked if the participant already has quizzes assigned to them, to protect existing results.
- Selecting multiple participants and choosing Send Quiz lets you pick a quiz and assign it to everyone selected in one action; each of them is immediately sent an invitation email.
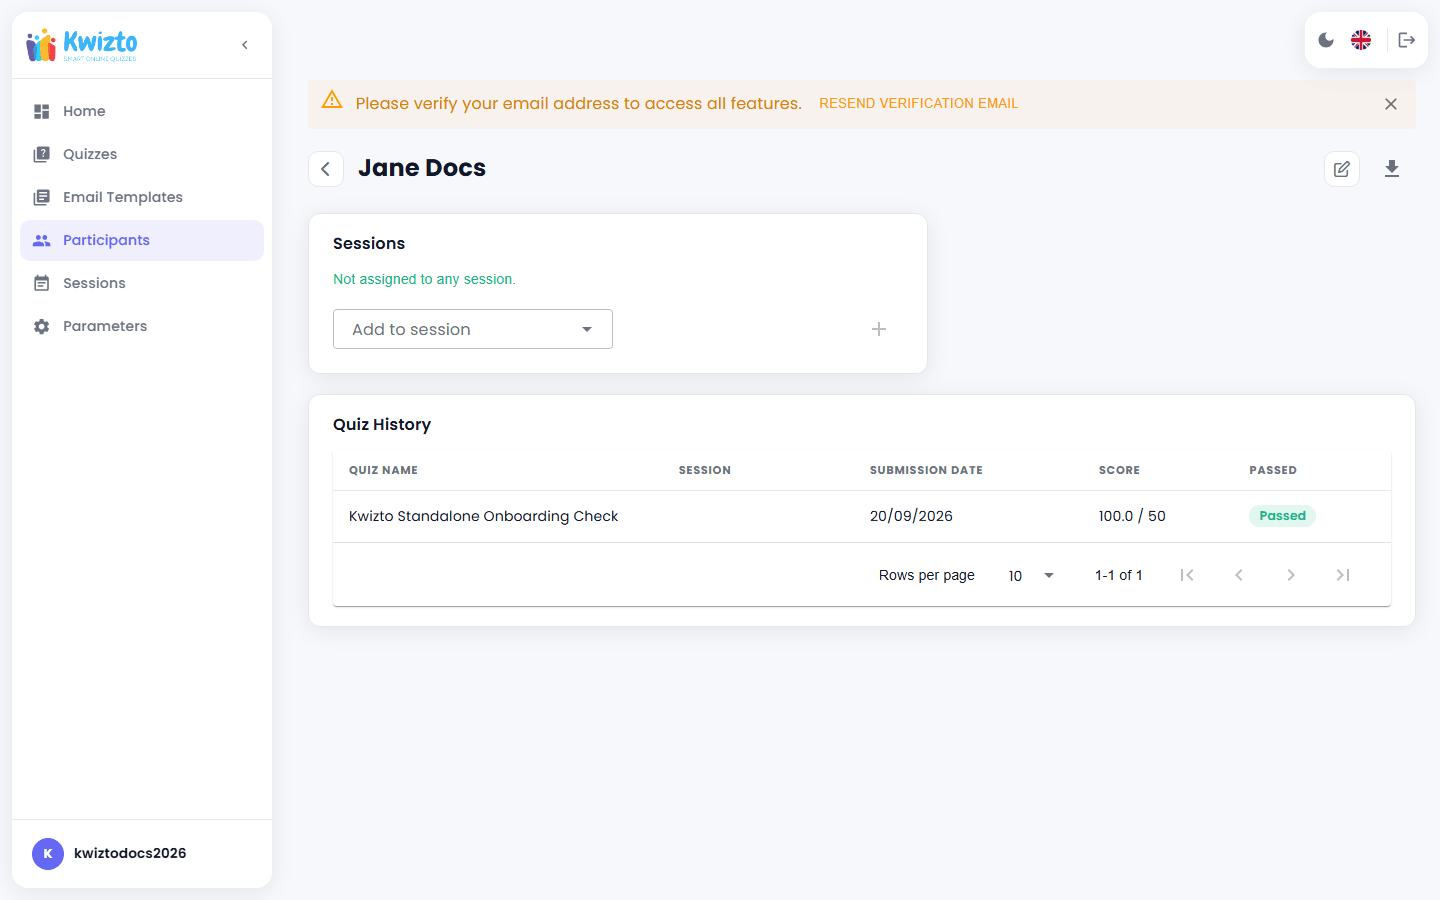
- Clicking a participant opens their detail page, showing every quiz they've been assigned and their results.
A participant's email only needs to be unique within your own account — the same email address can exist as a participant under a different account without conflict.
You can filter the participant list by Session and search by name or email.
5. Creating and Managing a Quiz
5.1 Creating a New Quiz
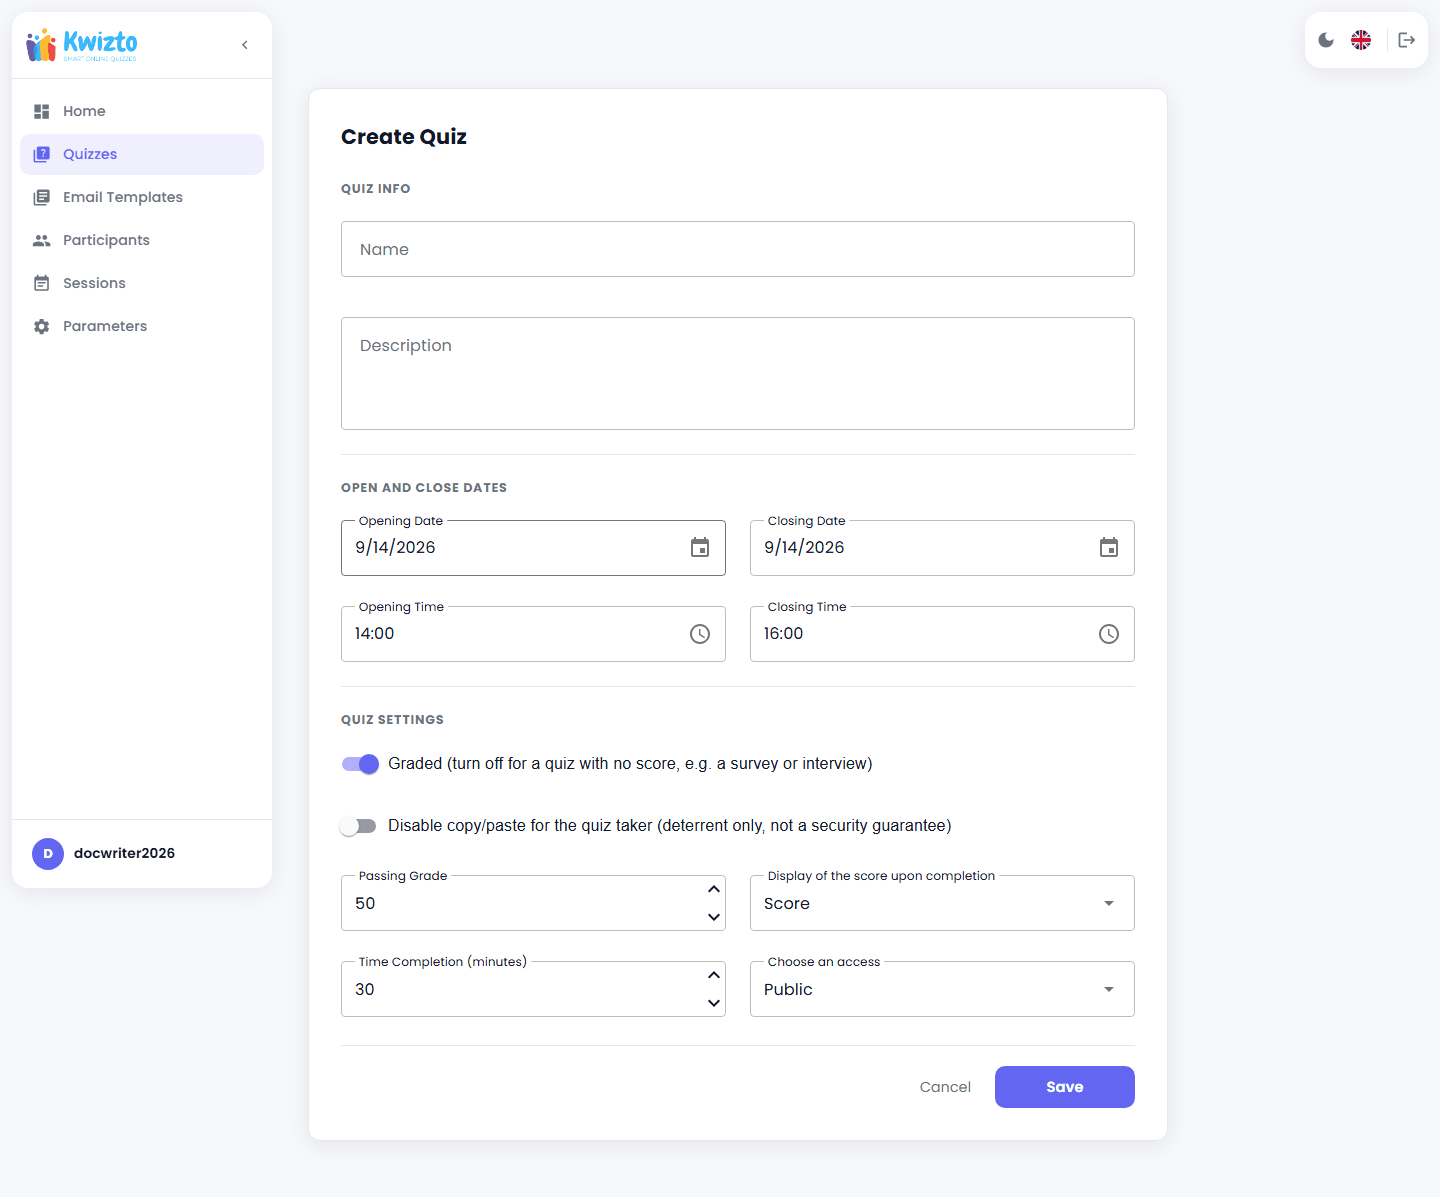
From the Quizzes list, click Create Quiz. Every new quiz starts as a Draft, meaning it isn't visible or sendable until it is published. Fill in:
| Field | Purpose |
|---|---|
| Name | The quiz title participants will see. |
| Description | Optional context shown before the quiz starts. |
| Opening Date/Time | When the quiz becomes available to take. |
| Closing Date/Time | When the quiz stops accepting attempts. |
| Display of the score upon completion | What participants see about their result: No Score, Score, or Detailed Score (per-question breakdown). |
| Access | Public or Private. |
| Graded | Toggle, on by default. Turn off for a quiz with no score, e.g. a survey or interview — hides Passing Grade and the score display option from the form when off. |
| Disable copy/paste for the quiz taker | Toggle, off by default. Blocks copy/cut/paste and right-click during the live attempt only, silently (no on-screen message). A deterrent only, not a security guarantee. |
You can also save a quiz as a Template — a reusable blueprint you can later turn into a real, schedulable quiz with one click (Create Instance) from the Quizzes list.
5.2 Adding Questions and Answers
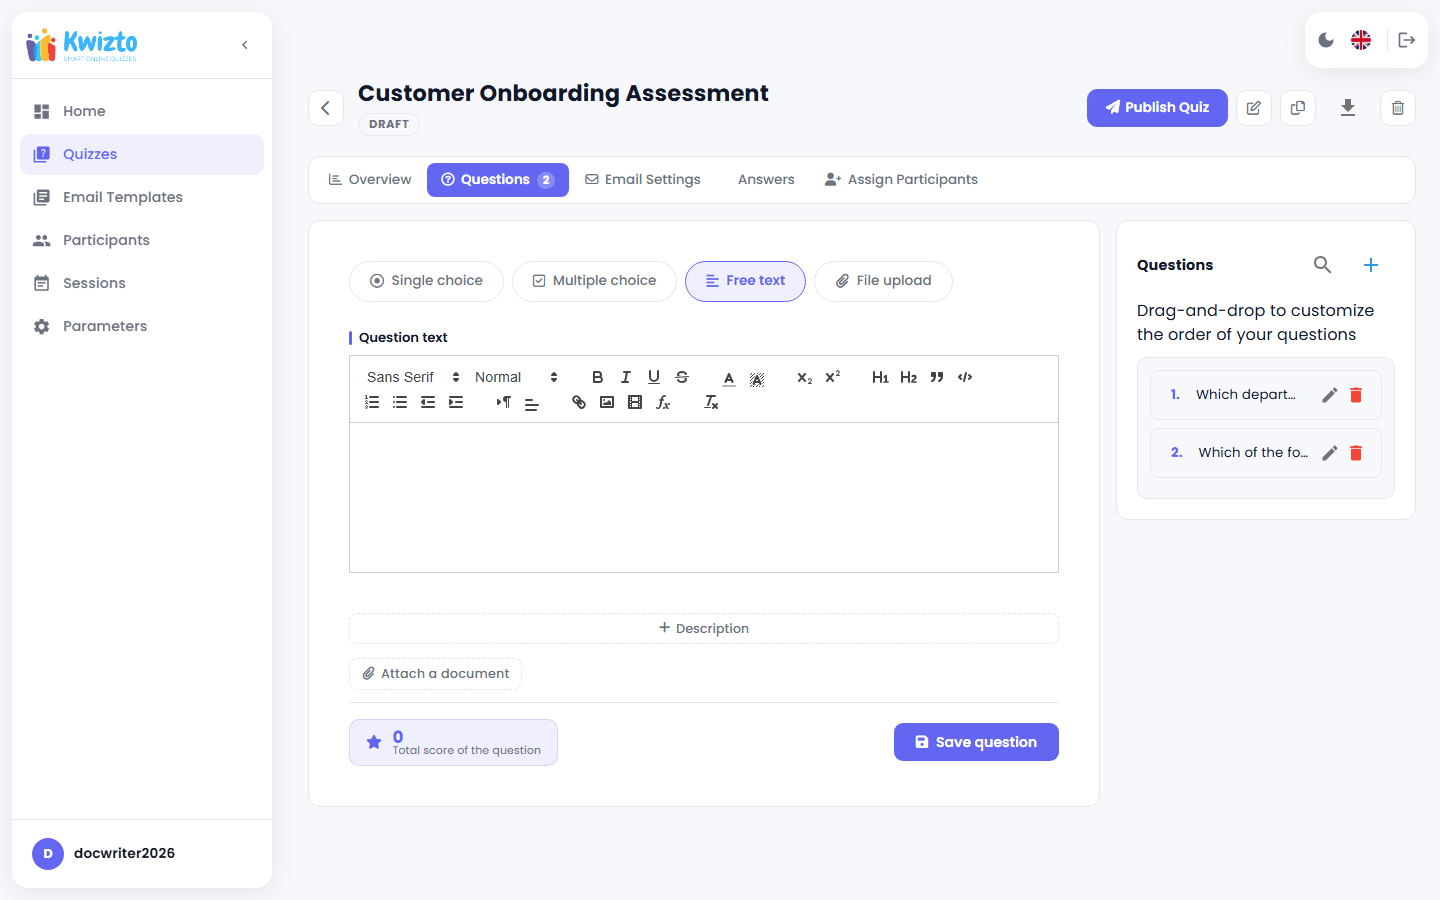
Open the quiz and go to the Questions tab. For each question:
- Enter the question text (rich text supported) and an optional description.
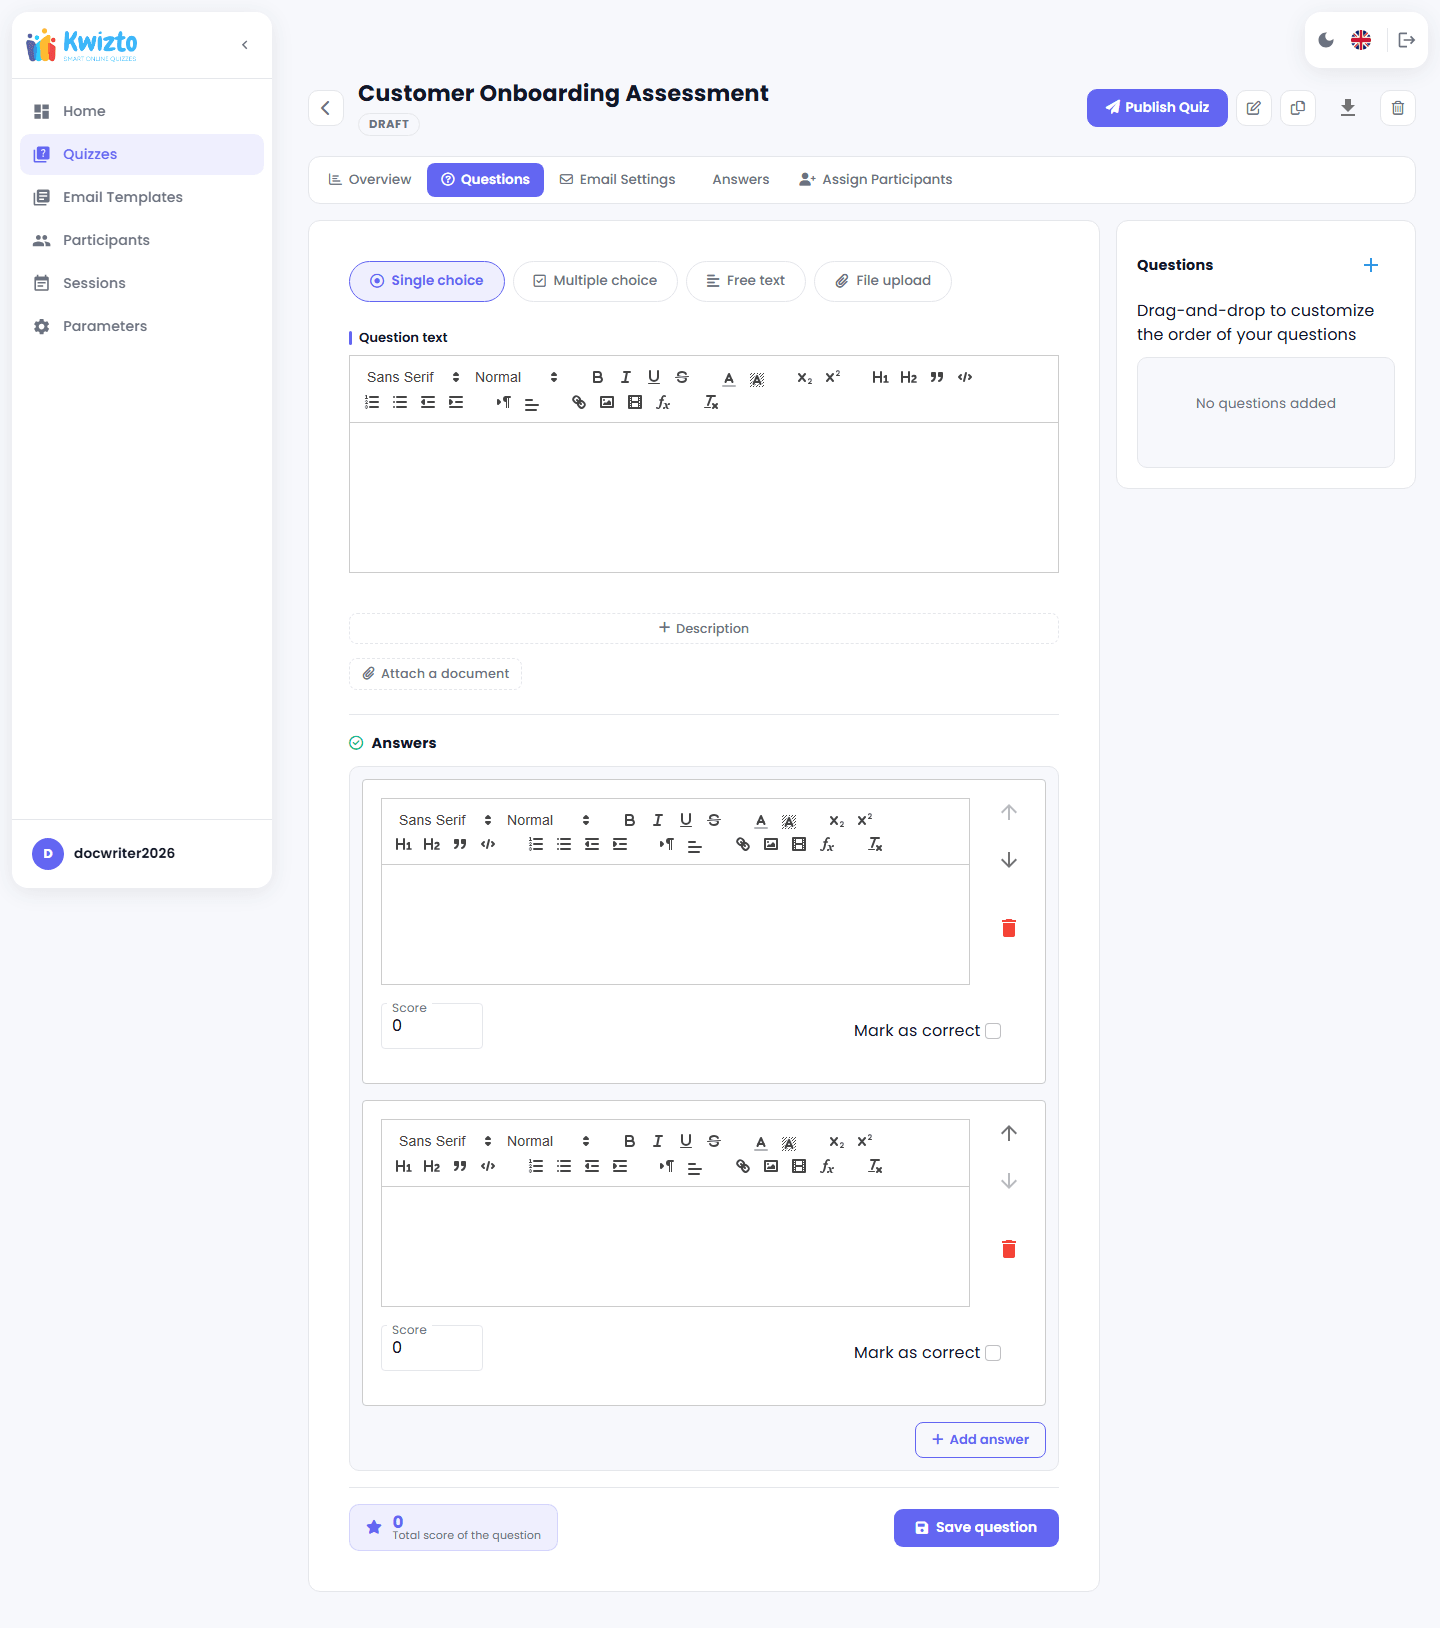
- Choose the question Type: Single choice (exactly one correct answer), Multiple choice (more than one correct answer allowed), Free text (a plain textarea answer, no score), File upload (the participant uploads a file as their answer, no score), or Audio (the participant records an answer with the browser microphone or drops an audio file, no score).
- Add answer choices, each with its own text, a Score, and a Mark as correct flag. Drag to reorder.
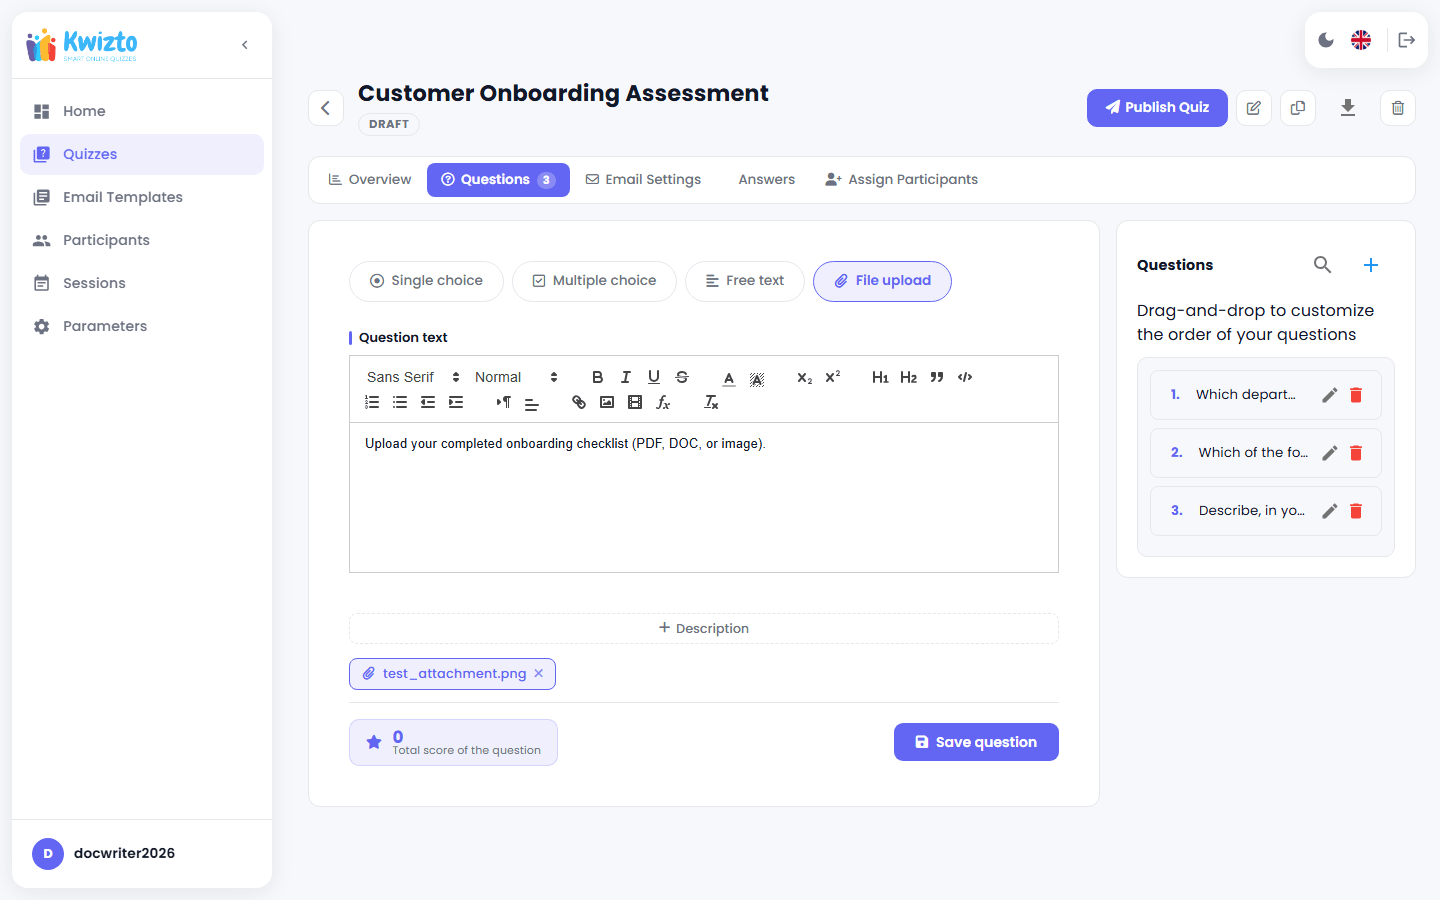
Free text, File upload and Audio questions have no answer choices to configure — just the question text and an optional description. File upload accepts .pdf, .doc, .docx, .ppt, .pptx, .png, .jpg, .jpeg, .svg, .mp3, .mp4, .webm, .wav, .m4a, or .ogg files up to 25 MB (configurable); Audio accepts .mp3, .wav, .m4a, .ogg, or .webm files. Any question, of any type, can also have an optional attached reference document (the paperclip Attach a document control) — shown to the participant after the question text and before the answer choices, inline for images/audio/video, as a download link otherwise. A Free text question's editor (no Answers section) and a File upload question with an attached document look like this:
Kwizto recalculates the quiz's overall score automatically every time you save a question. Saving a question only checks one rule: a Single choice question can have only one correct answer marked. The rule that every question needs at least one correct answer worth more than zero points is checked when you publish the quiz (Section 5.4) — so a question can be saved without a valid correct answer and will only be caught at publish time.
This requirement applies to Single choice and Multiple choice questions regardless of whether the quiz itself is graded or ungraded — an ungraded quiz's choice questions still need a valid correct answer configured. Free text, File upload and Audio questions have no correct-answer concept at all and are exempt.
Five question types are available: Single choice, Multiple choice, Free text, File upload, and Audio.
5.3 Setting the Passing Score
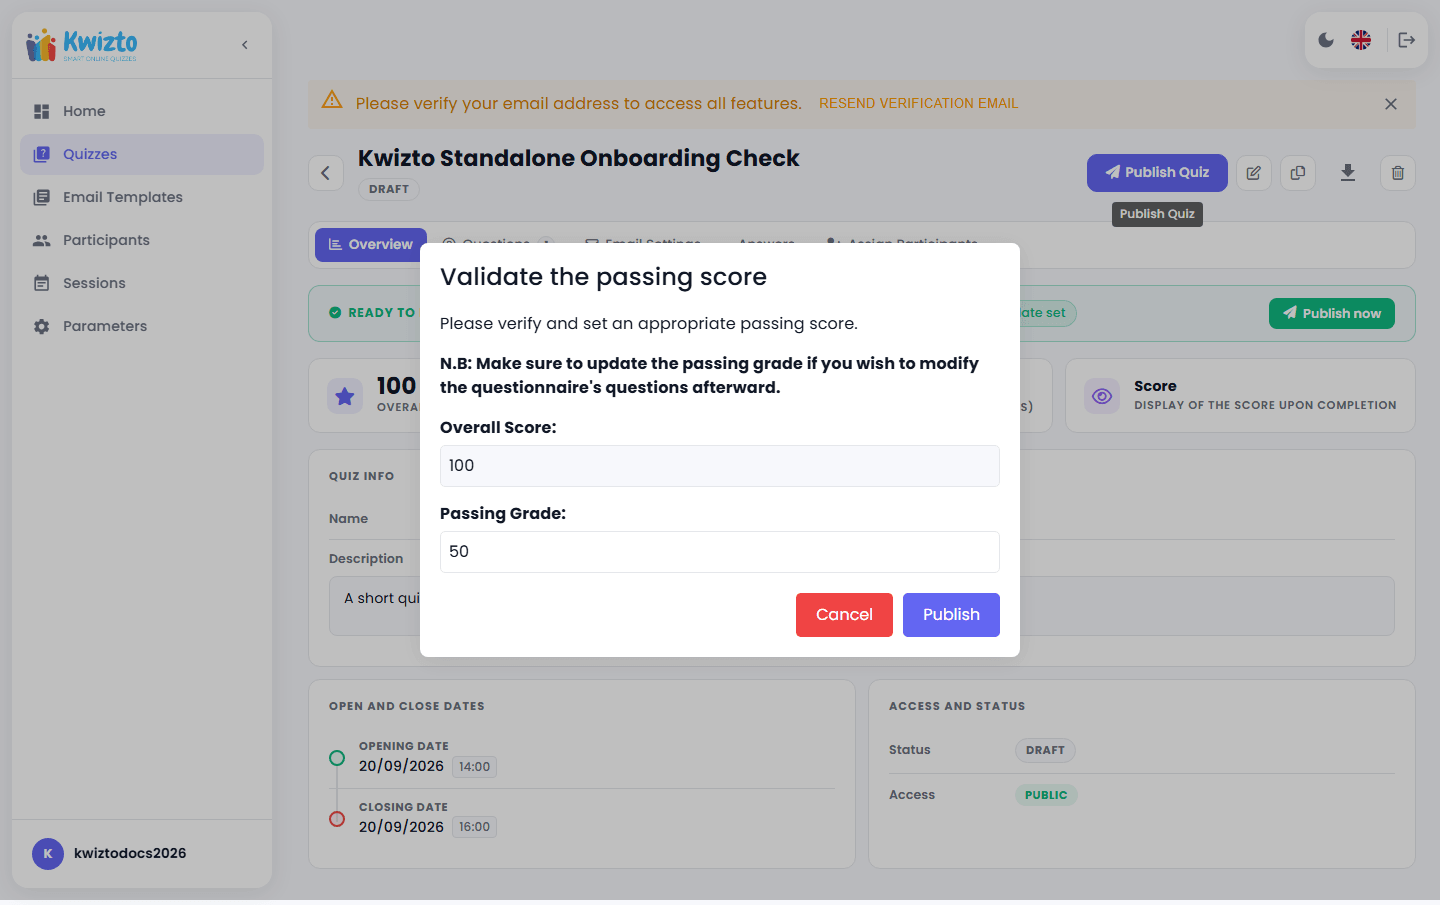
Confirm the passing score when you publish the quiz (Section 5.4); it must not exceed the overall score. Afterward, it can only be changed from the quiz's Edit page — the Overview tab is read-only.
5.4 Publishing, Editing, and Removing a Quiz
From the quiz's Details page:
While in Draft, a readiness checklist tells you what's missing before publishing: at least one question, a calculated score above zero, an opening date, and a closing date. Once all are satisfied, a Publish now shortcut appears.
Publish Quiz opens a confirmation dialog to confirm the passing score. If no email sending method is configured (Section 7.1), you'll be warned that emails won't go out, with the option to publish anyway. Publishing also checks that your email templates contain the required link placeholders.
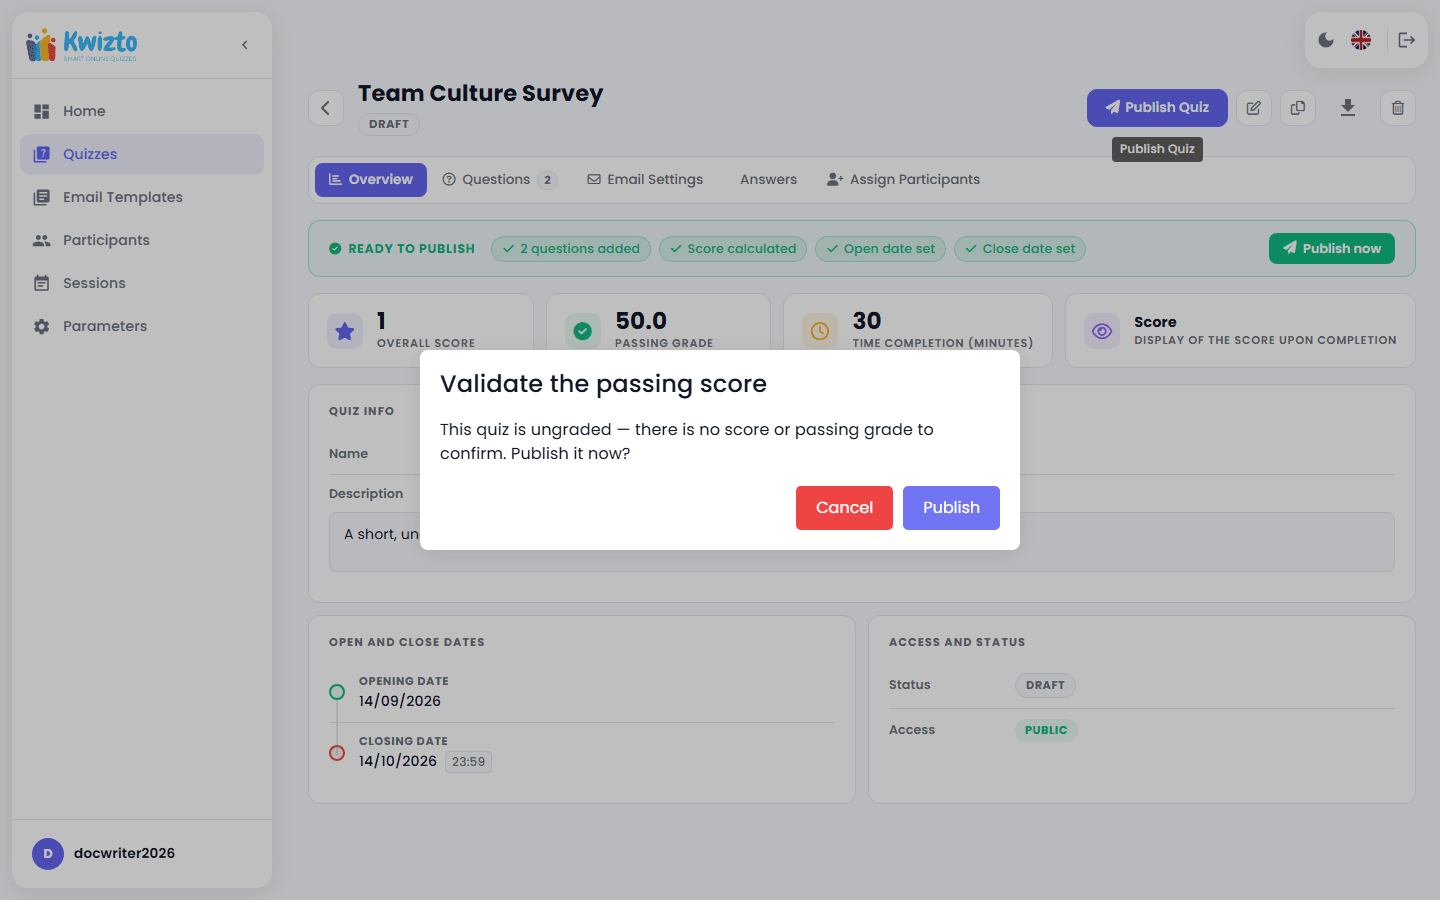
For an ungraded quiz, the confirmation dialog does not ask you to confirm a passing score — since there is none to confirm, it simply reads: "This quiz is ungraded — there is no score or passing grade to confirm. Publish it now?"
Unpublish quiz reverts the quiz to Draft. It does not cancel any emails already queued — any invitation, reminder, or results emails already scheduled will still send. You can't unpublish a quiz while it is open.
Modify Quiz, Clone Quiz, and Delete Quiz work the same way as quiz creation, letting you modify, duplicate, or remove a quiz (with confirmation for deletion).
Export (Excel or CSV) lets you download participant results directly from the Details page.
A quiz only has two real statuses: Draft and Published. There's no separate "Closed" status — a published quiz simply stops accepting new attempts once its closing date passes, and the Details page's "Live" indicator stays on until one day after the closing date (a one-day grace period), then turns off.
5.5 Assigning Participants to a Quiz
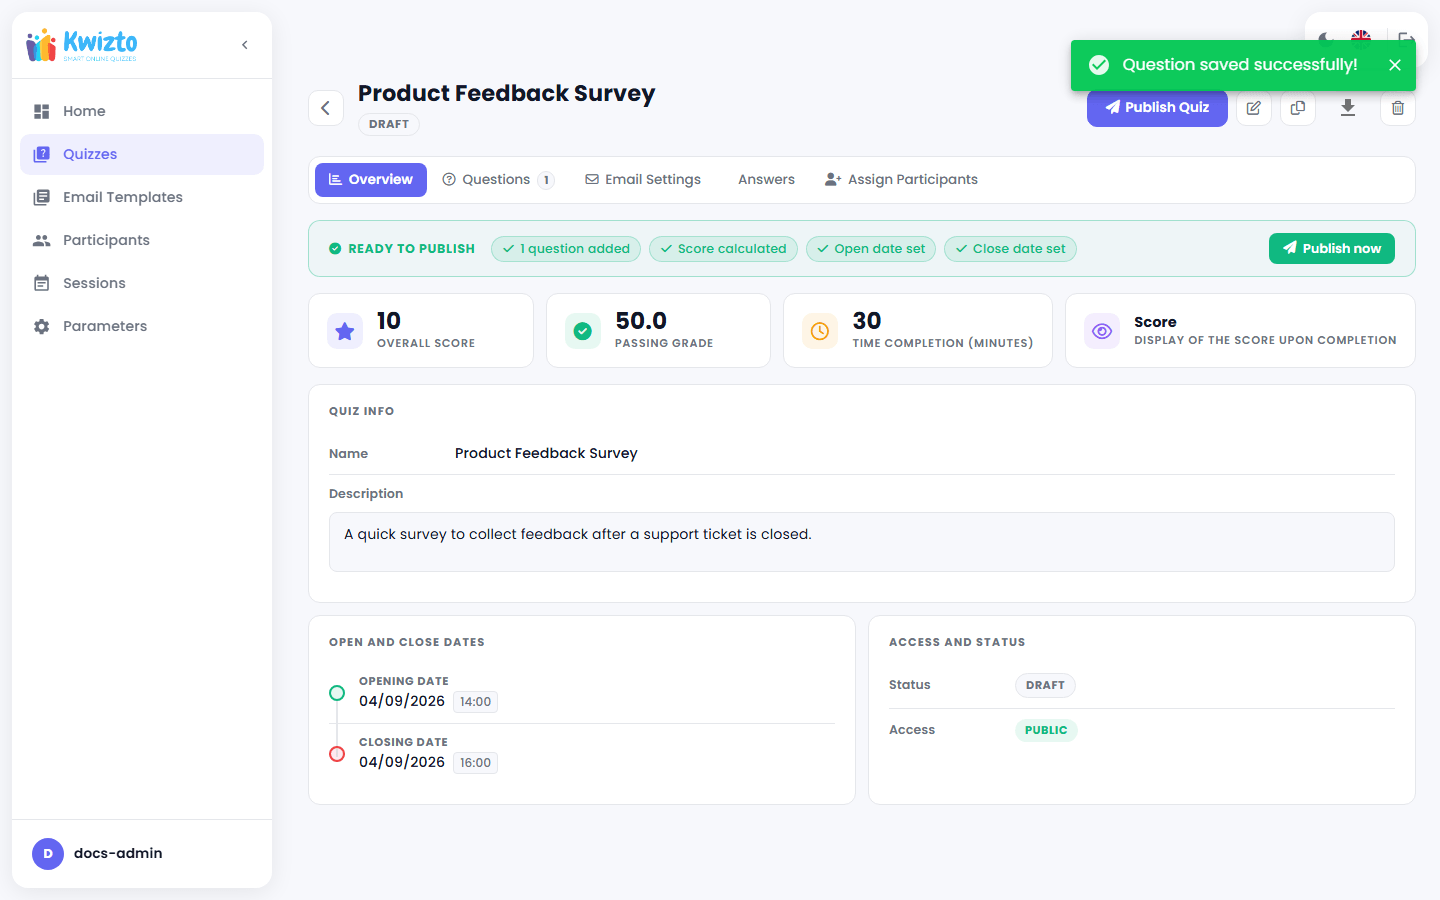
Go to the quiz's Assign Participants tab (standalone-only). The left panel lists your available participants — searchable and optionally filtered by Session — with checkboxes; the right panel shows who's already assigned, along with their status (Not started / In progress / Completed). Select participants on the left and click Assign & Send Invitations to add them; each of them is immediately sent an invitation email. You can remove a participant from the right panel as long as they haven't started.
You can also assign participants in bulk from the Participants page itself using Send Quiz (Section 4.2).
5.6 Monitoring Results and KPIs
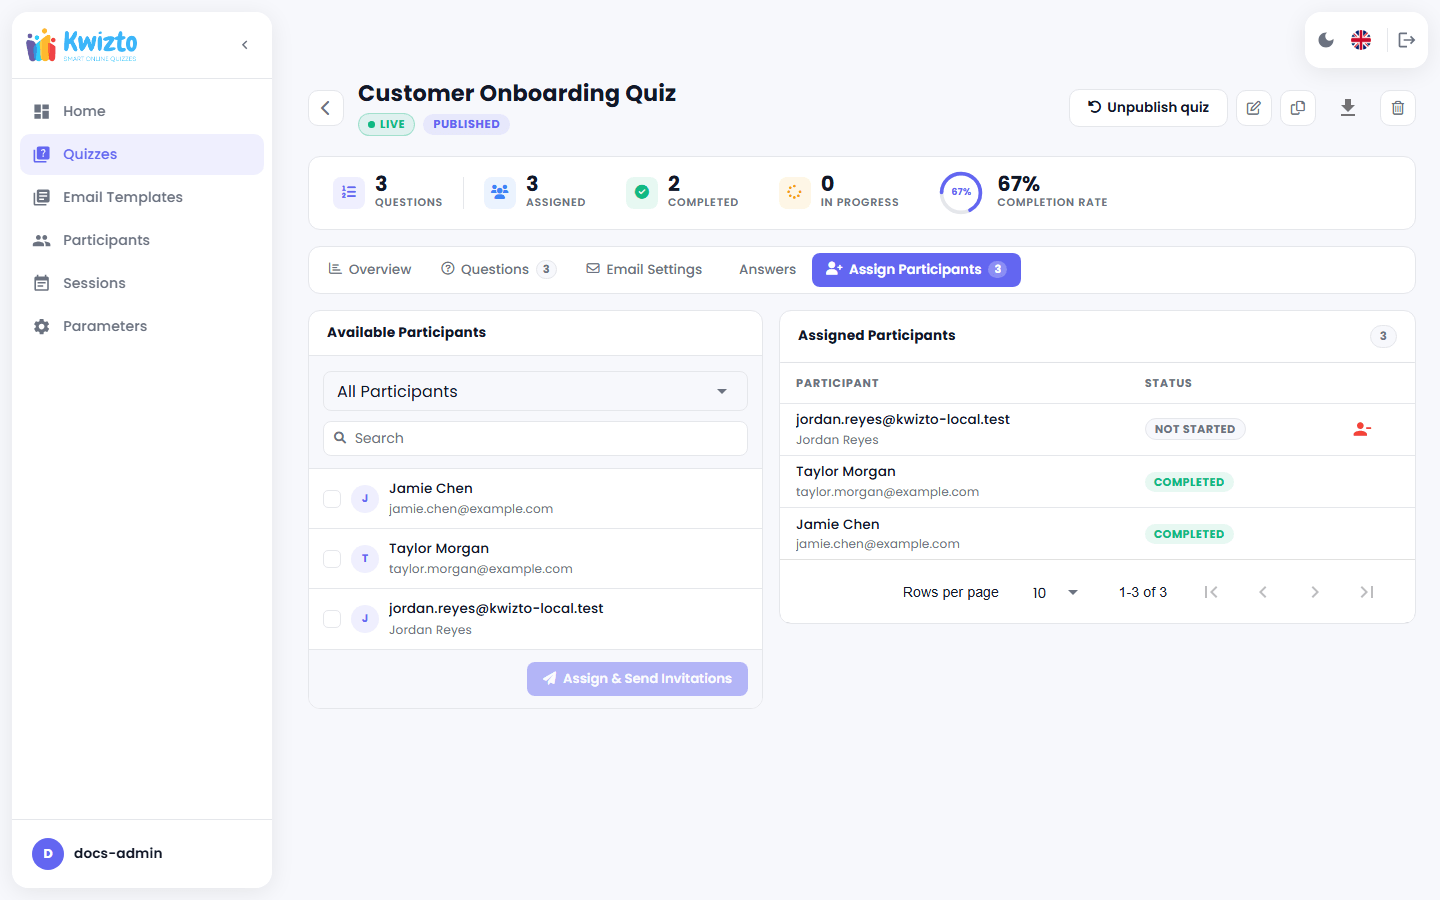
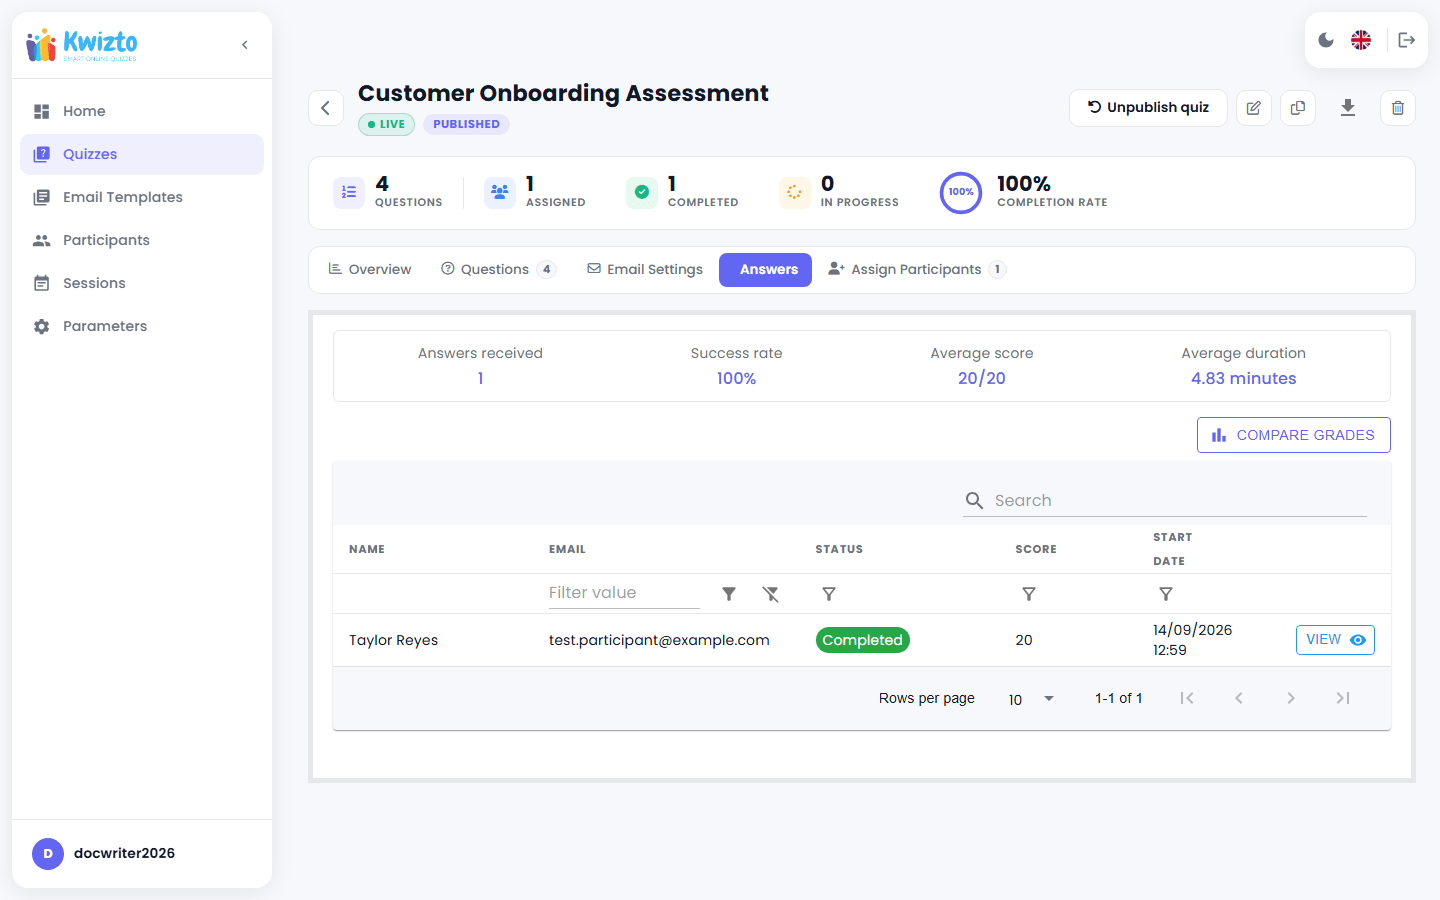
The quiz's Participants tab (second tab on the Details page) shows every participant's status and score, plus per-quiz KPIs (total responses, success rate, average score, average completion time). The Home dashboard (Section 2.4) rolls this up across all your quizzes.
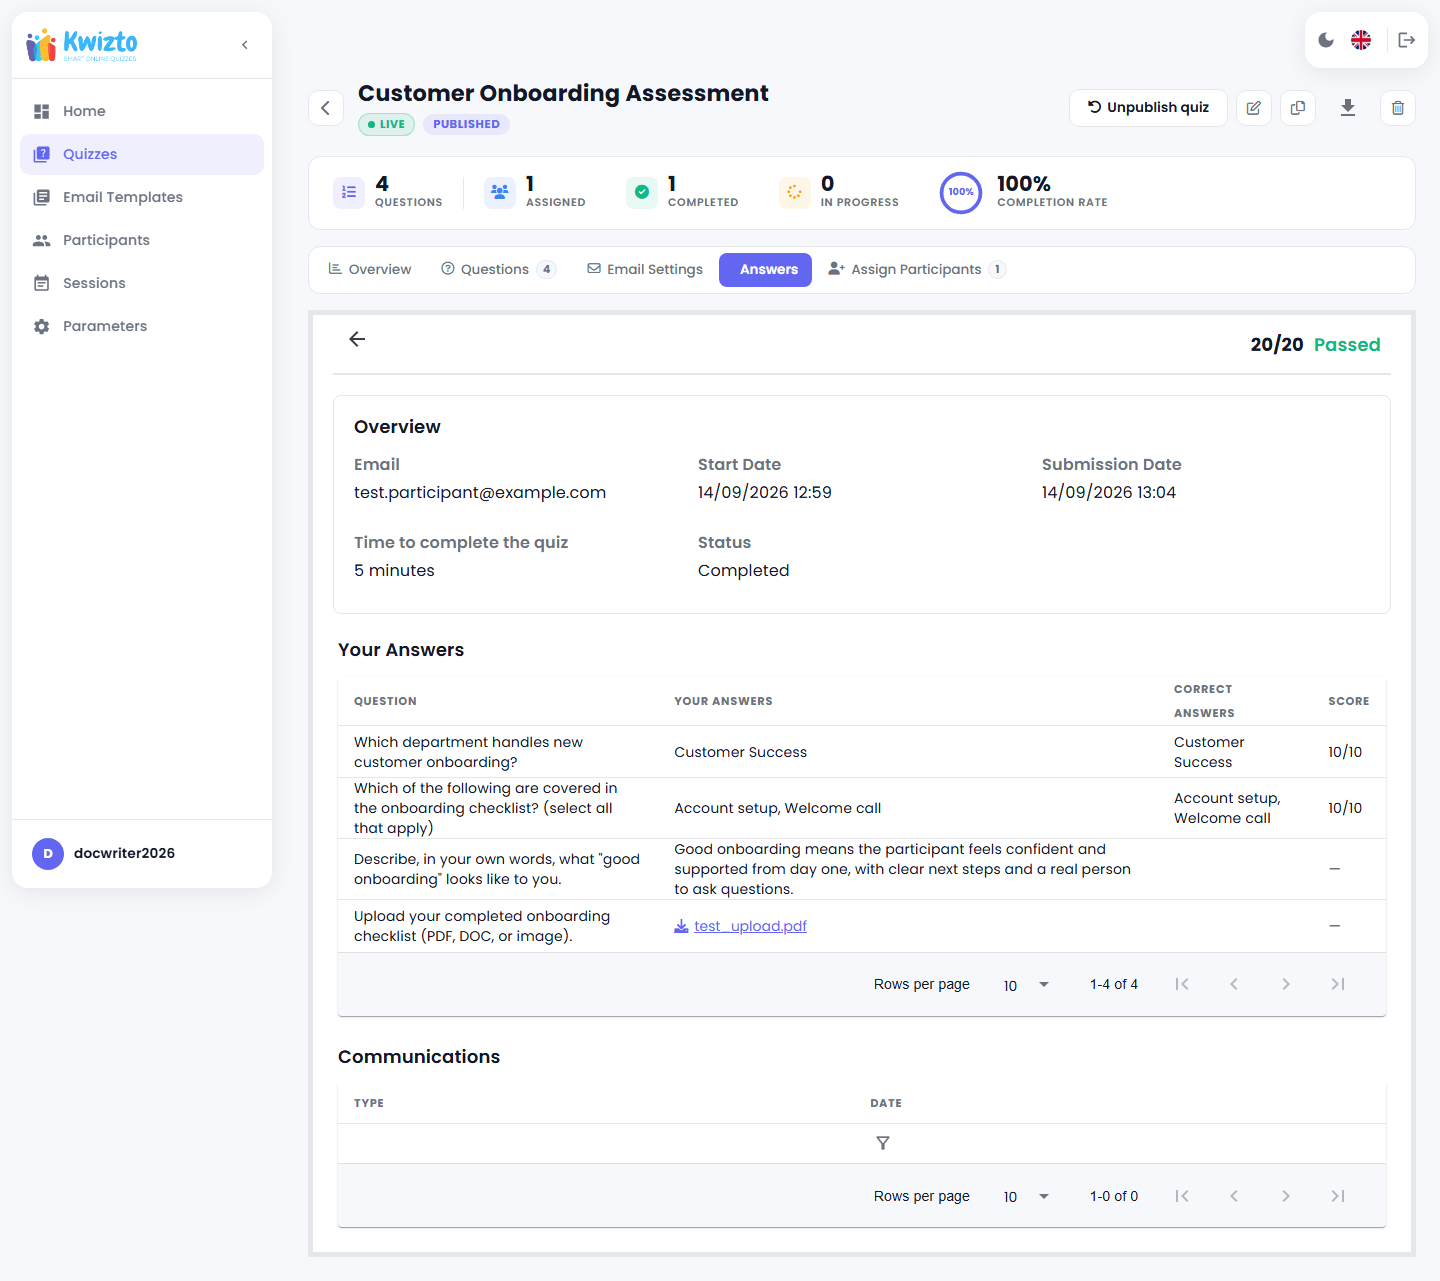
For an ungraded quiz, the Success Rate and Average Score tiles and the Score column are hidden entirely from the Participants tab — there is nothing to grade. For a Free text, File upload or Audio answer (or any answer on an ungraded quiz), the Score column shows an em dash (—) instead of a fraction. A File upload answer appears as a click-to-download link rather than an inline preview, since the download endpoint requires the admin's own sign-in and can't be embedded directly as an image.
A completed participant's answer detail, showing a choice question's normal score alongside a Free text answer and a File upload answer (both scored —):
6. Automated Emails and Templates
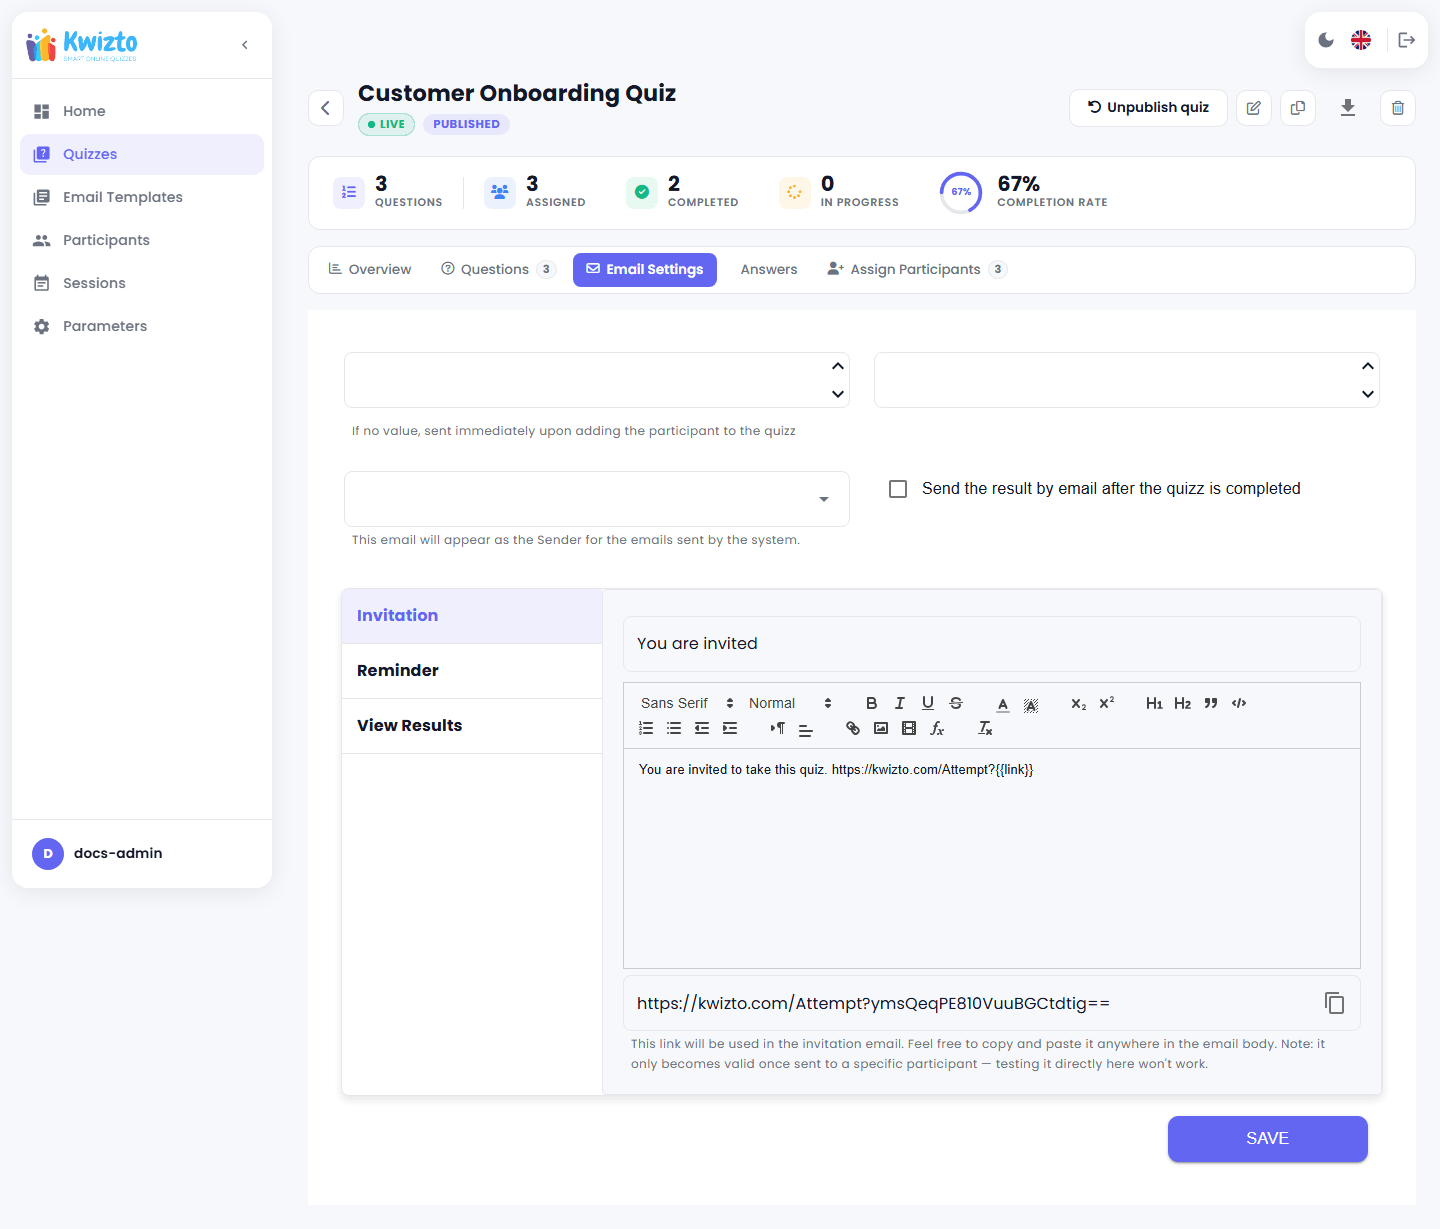
Kwizto sends three types of automated emails per quiz, each with its own editable subject and rich-text body (found in the quiz's Email Settings tab), plus a configurable From address:
| When it's sent | |
|---|---|
| Invitation | At the quiz's opening date. If a delay (in hours) is set, the invitation email is sent that many hours before the opening date. Contains a unique, personal link for that participant. |
| Reminder | Only if the quiz has an opening date, closing date, and a reminder frequency (in hours) set — it repeats on that cadence until closing. Reminders stop for a participant as soon as they start the quiz. |
| Results | Only if "Send the result by email after the quizz is completed" is enabled — sent at the closing date with a personal link to the participant's results. |
Instead of writing each template from scratch, you can pull one from your email template library (a set of reusable templates shared across all your quizzes) and adjust it as needed.
Emails are queued and sent by a background process that checks periodically for due emails and retries failed sends a limited number of times before marking them as failed — so a template that never sends is usually a sign your email connection (Section 7.1) needs attention.
7. Parameters
Go to Parameters to configure the sections below (Email, Cirrus Shield, and Account):
7.1 Email Sending
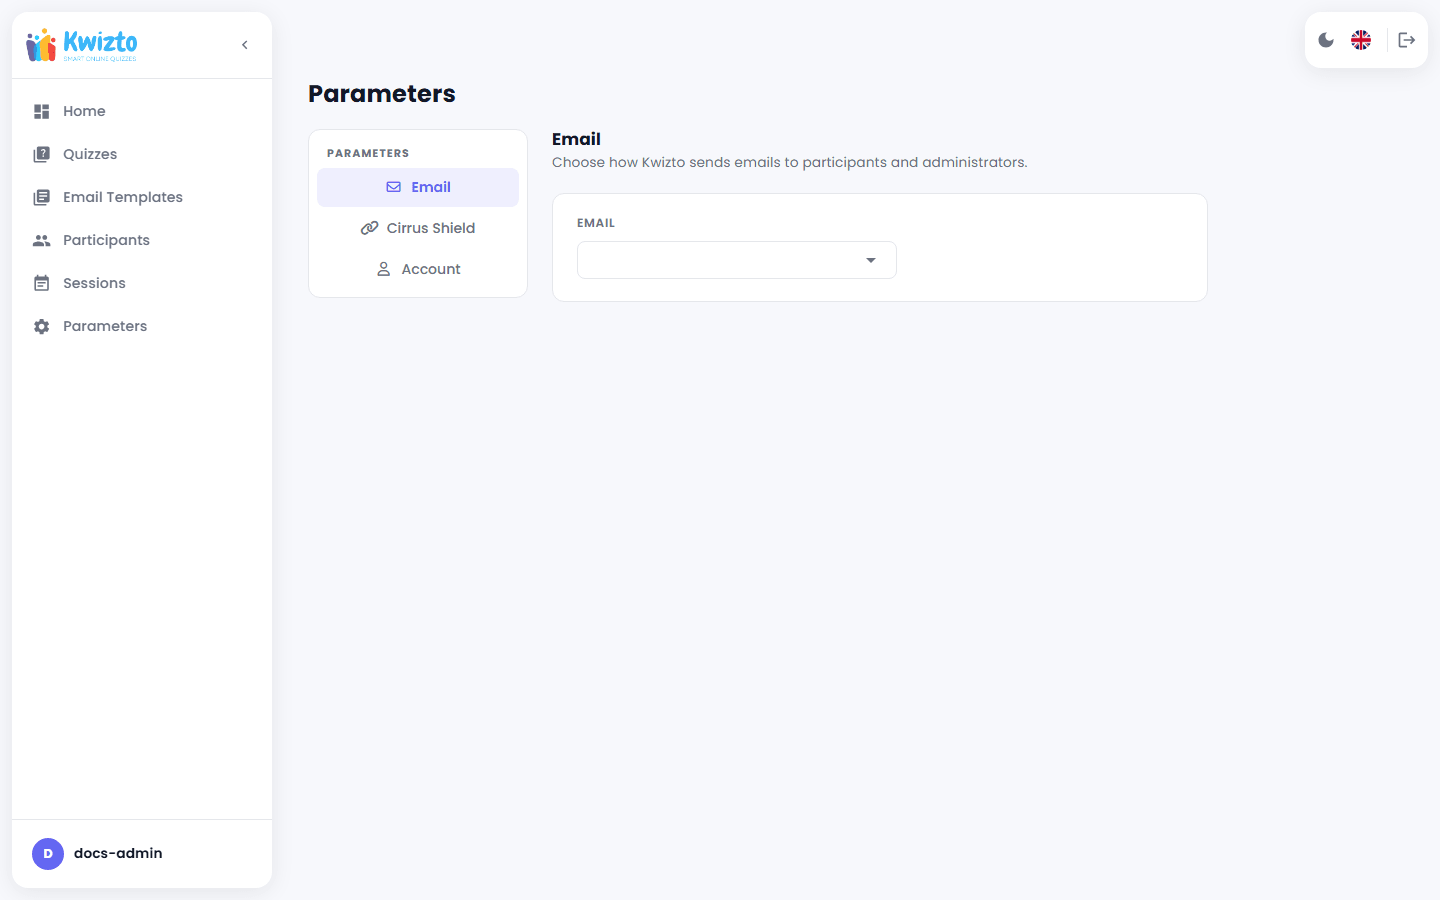
In the Email section, choose how Kwizto sends your emails:
- SMTP — enter your mail server host, port, username, password, sender name/address, and whether to use SSL, then Save and Test Connection.
- Gmail or Hotmail — connect via OAuth instead of entering SMTP credentials directly.
Switching from one email method to another clears the previous configuration, so make sure you're ready to fully reconfigure before switching.
7.2 Connecting to Cirrus Shield (Optional)
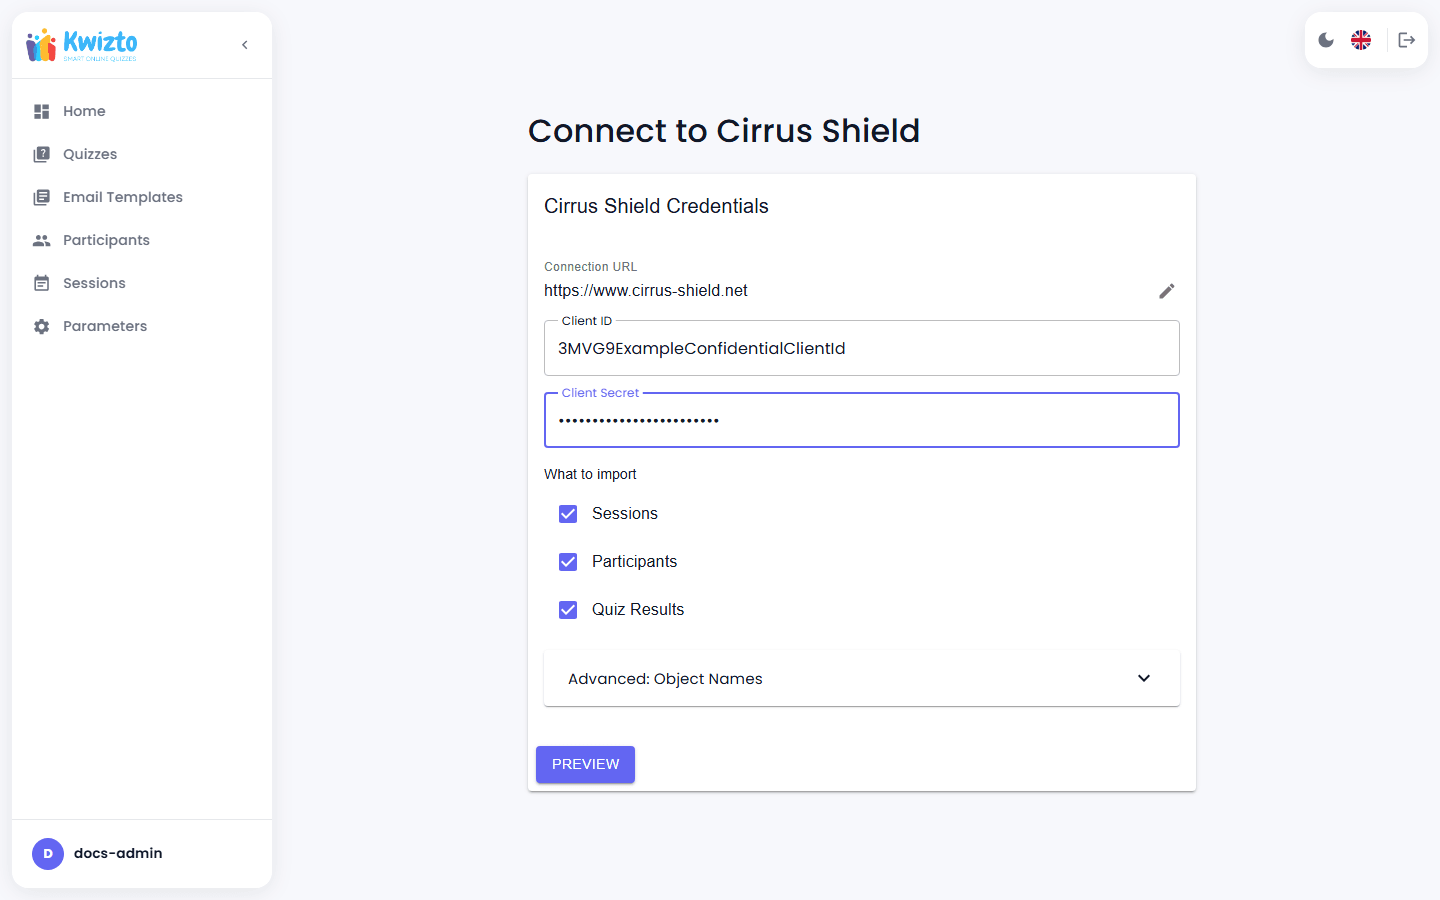
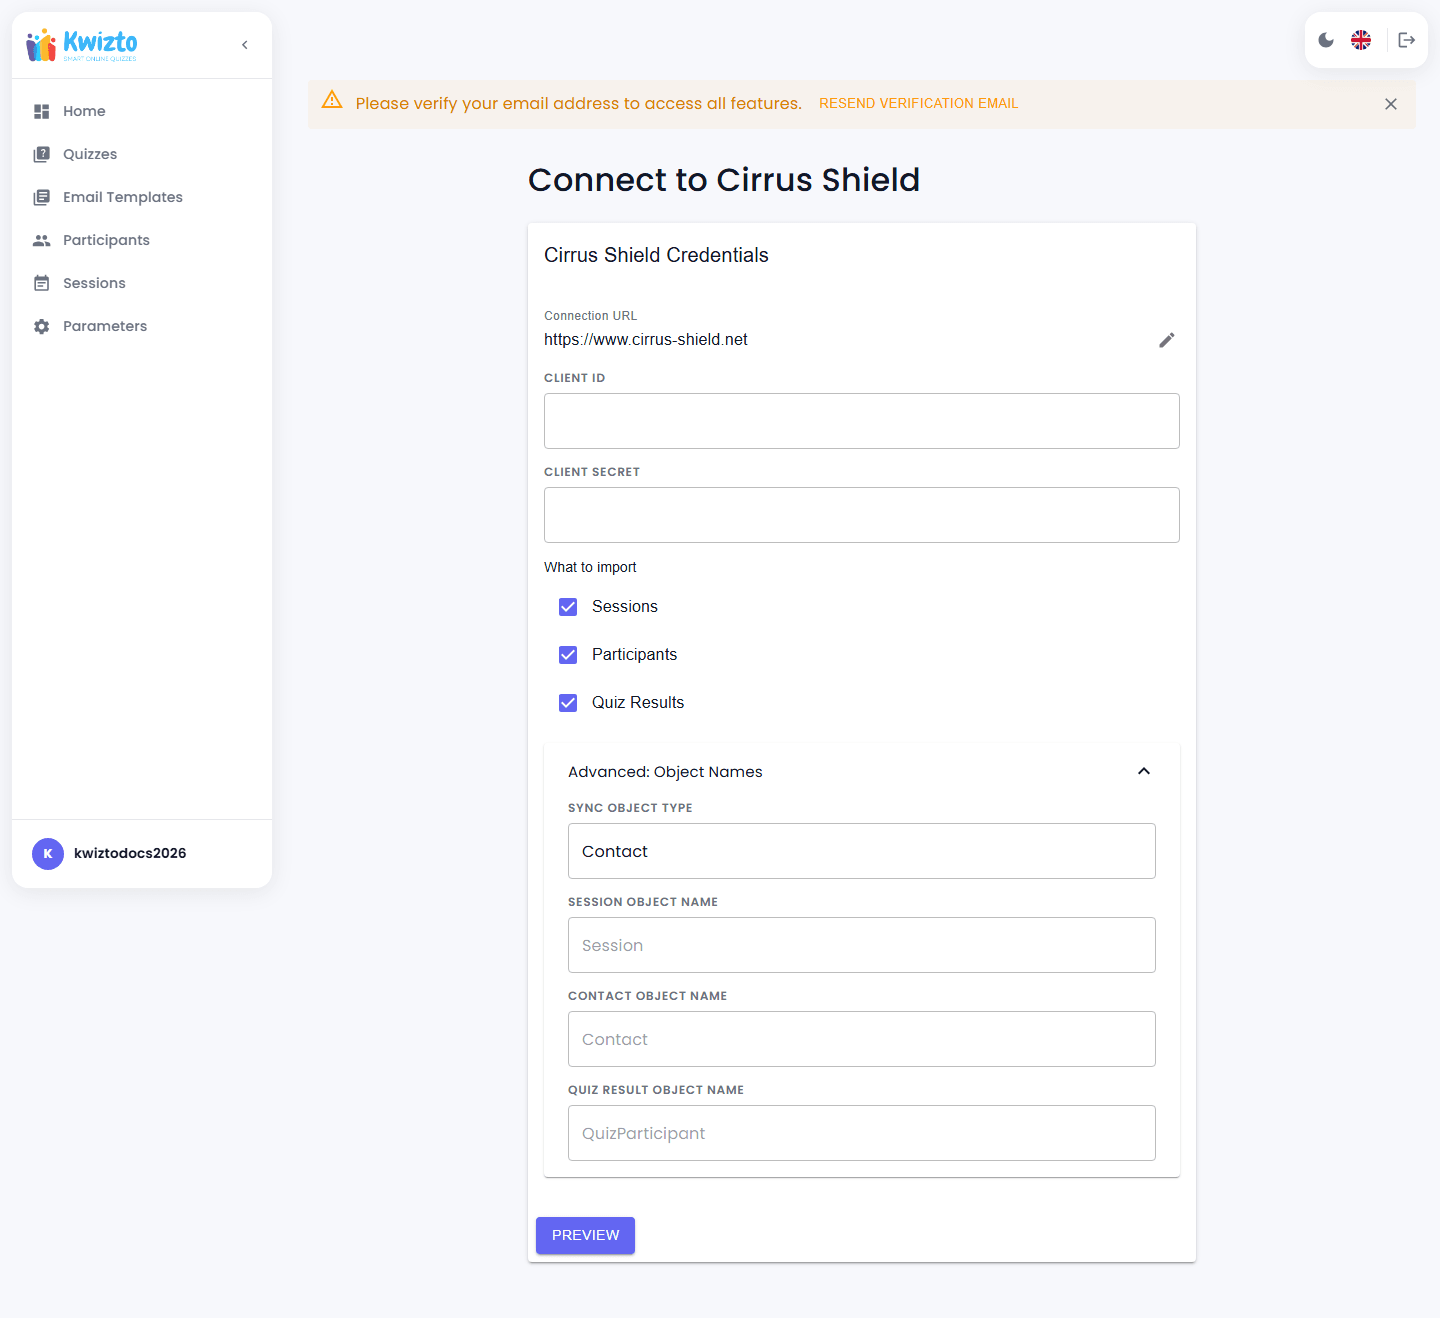
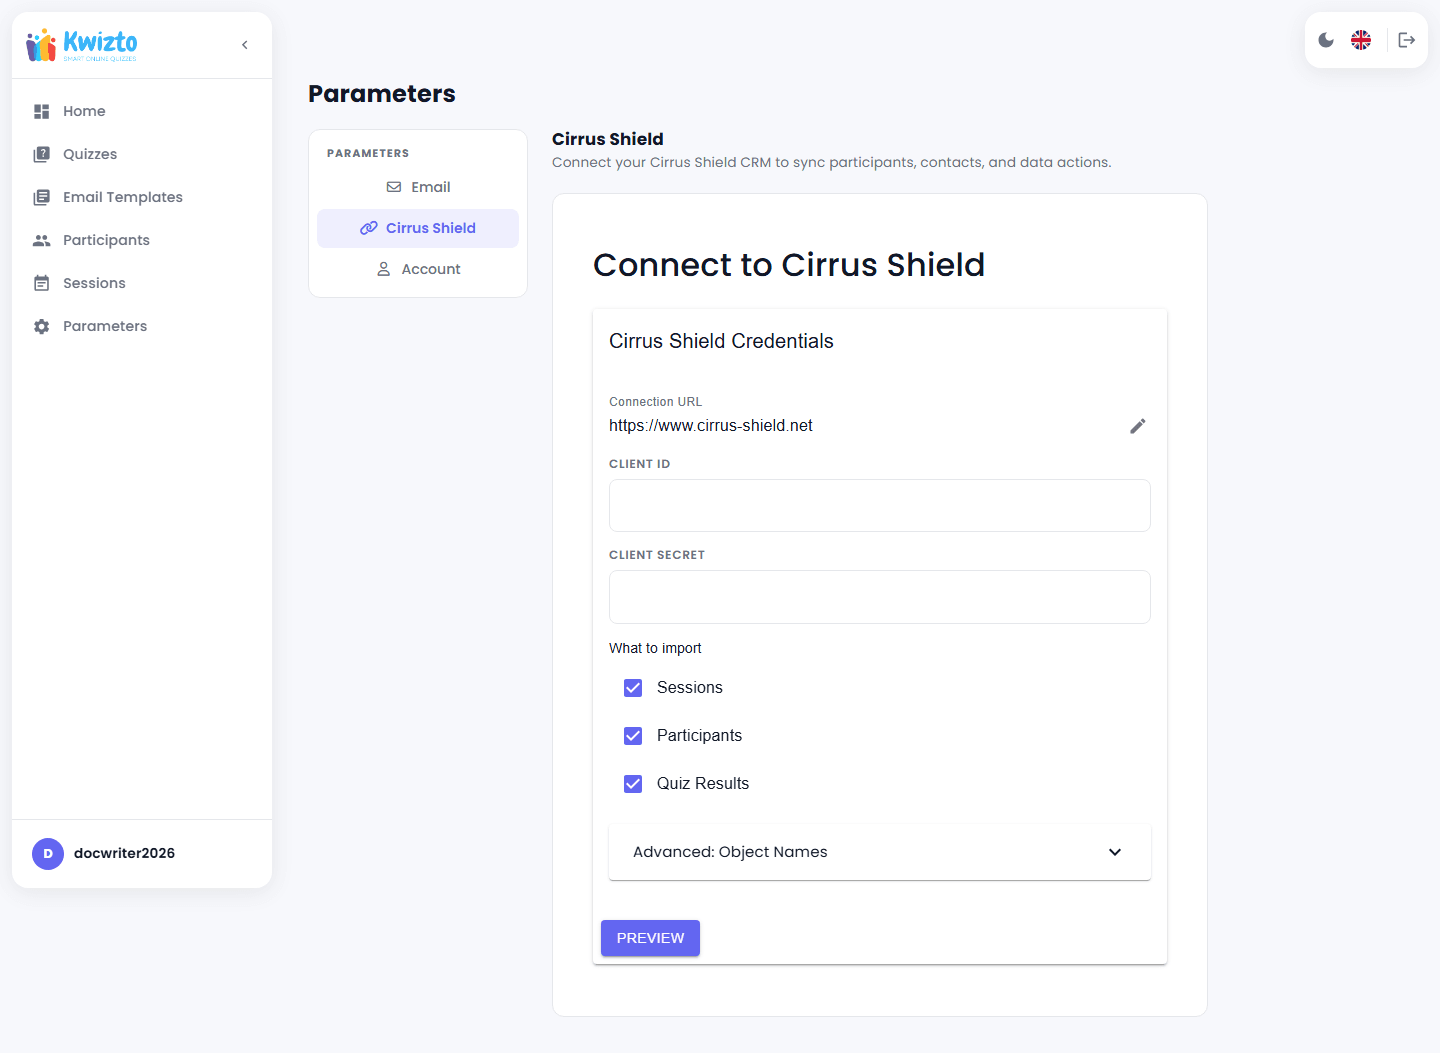
If you'd like to optionally connect your standalone organization to an existing Cirrus Shield org — for example to sync participant data — the Cirrus Shield section of Parameters walks you through a connection wizard. Once connected, you'll see a "Connected since" confirmation and can manage which Cirrus Shield object types (such as Contact or Lead) are kept in sync. A "Danger Zone" section lets you disconnect at any time. This is the same wizard covered in Section 8 below — it asks for a Cirrus Shield Confidential Connected App's Client ID and Client Secret, not a Cirrus Shield username and password.
This connection is entirely optional for standalone organizations — it does not affect your ability to run quizzes on your own participant list.
Before connecting, make sure the object you plan to sync to (Contact by default, or whichever object type you choose during the wizard) already has three custom fields set up in Cirrus Shield: QuizStatus (Picklist: Quiz Sent, Completed), QuizScore (Number), and QuizCompletionDate (Date). Ask your Cirrus Shield administrator to add them if they are missing — without them, quiz results won't be written back after you connect, even though the connection itself will succeed.
7.3 Account
Change your password, and view/manage your license (Section 3) from the Account section.
8. Sending Your Data to Cirrus Shield (Migration Wizard)
Go to Parameters > Cirrus Shield to send the Sessions, Participants, and Quiz Results you've already built up in standalone Kwizto into a Cirrus Shield organization — the wizard is shown there while your account is not connected to Cirrus Shield (there is no separate Migration menu item). Despite the wizard's on-screen "Import" label, this pushes data one way, from Kwizto out to Cirrus Shield — it does not pull anything in from Cirrus Shield:
- Enter the Cirrus Shield URL, and the Client ID and Client Secret of a Confidential Connected App you (or your Cirrus Shield admin) have created in that organization for this purpose — not a Cirrus Shield username and password.
- Check the boxes for which local categories to send — Sessions, Participants, and/or Quiz Results — and, if needed, expand Advanced: Object Names to override the default Cirrus Shield object each one is written to (Session, Contact, and QuizParticipant by default).
- Click Preview to see how many local records in each checked category will be sent — this counts what's already in your local Kwizto database, not anything in Cirrus Shield.
- Click Execute Migration to create or update those records in Cirrus Shield. Sessions and Participants are upserted by Name/Email (so re-running the wizard won't duplicate them); Quiz Results are inserted as new records each time.
This is separate from the ongoing Cirrus Shield connection sync (Section 7.2): once connected, Kwizto also periodically pulls Contacts from your configured Cirrus Shield sync object(s) into Kwizto as Participants, and pushes your standalone Participants back out to Cirrus Shield as Contacts — independent of this wizard, and going in both directions. The wizard syncs automatically when it finishes: a sync runs right after a successful send, without waiting for the next scheduled run.
In Cirrus Shield, that Connected App needs:
- Client Type: Confidential
- Allowed Scopes: api
No Redirect URI is needed — this connection uses the OAuth client-credentials grant, which never opens a browser redirect. The exact steps for creating a Connected App live inside Cirrus Shield's own setup area; check with whoever administers that organization if you don't have access yourself.